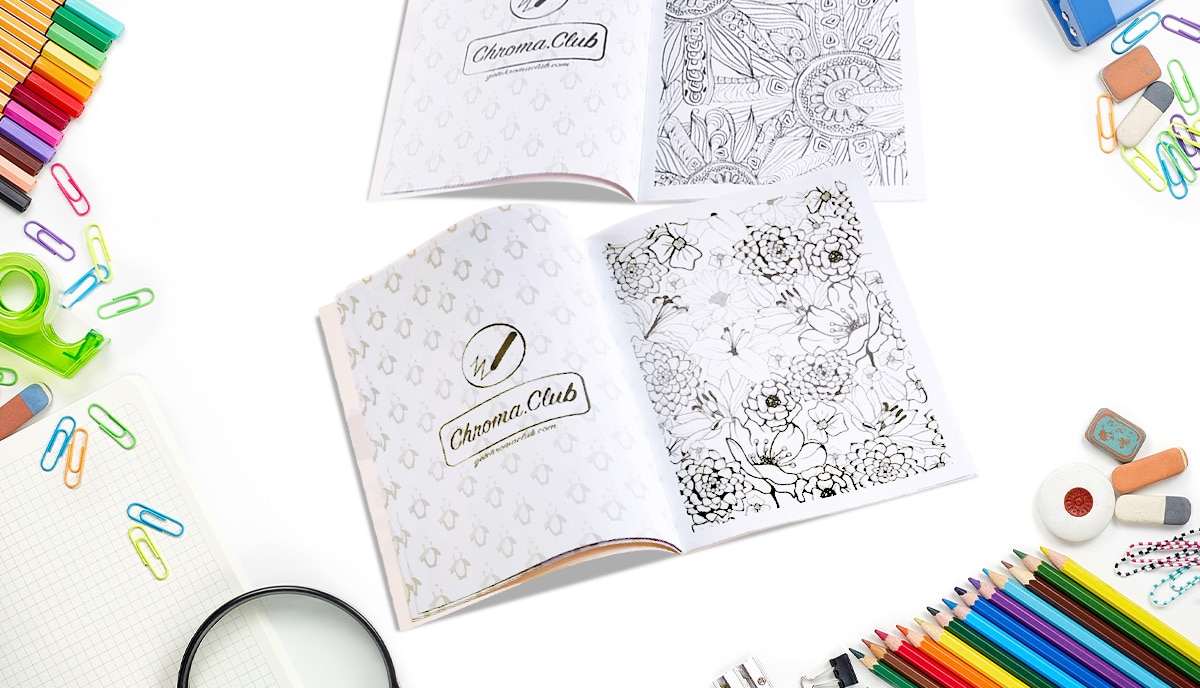
A detailed, step-by-step guide to choosing the interior and cover printing styles for your self-published book
Why are most books printed in black-and-white?
When it comes to book interiors, black ink on off-white paper is the go-to choice for a reason. This classic style is easy on the eyes, making it ideal for long reading sessions and enhancing the readability of text-heavy books. And while self-publishing allows for complete freedom, it's wise to think twice before veering from this standard. When countless publishers follow a particular style, there's often a good reason behind it.
So why do most books stick to black ink on cream or white paper? First, it's about reader comfort. Colored text, unusual fonts, or stark color contrasts can strain the eyes, pulling readers out of the experience you've crafted. If your readers find the text hard to scan or tiring to read, they may put your book down, no matter how engaging the content.
Economics also plays a big part. Full-color interiors are expensive to produce, which is why even traditional publishers use color sparingly. Printing with colored ink increases costs dramatically—think about how quickly your home printer runs out of color ink! Multiply that across hundreds of pages, and you'll see why sticking to black and white is often the best choice, especially if you aim to sell at a profit.
And while your book's cover can, and should, use vibrant colors to catch a reader's eye, the interior doesn't have to follow suit. A well-designed cover draws readers in, but a clean, reader-friendly interior keeps them hooked.
When to choose color printing for your book
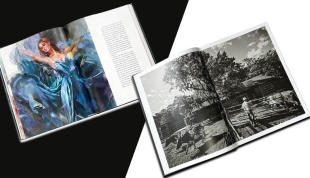
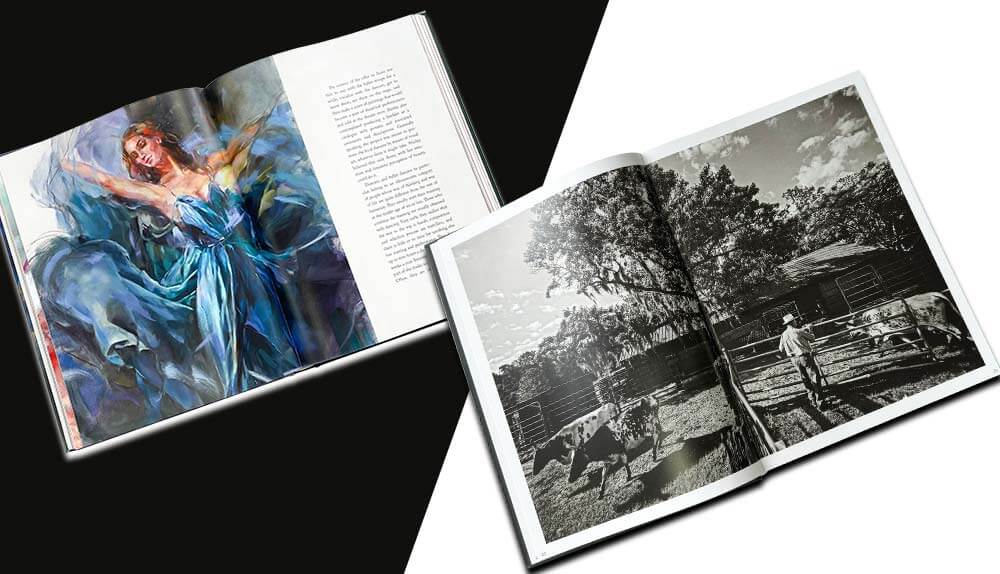
All of that said, certain kinds of books need interior color printing. For example, children's picture books which rely on illustration to tell the story and have just a few short lines of supporting text. More complex textbooks which need color illustrations and diagrams could be another example. And, of course, a book of artworks or photographs may merit full color printing.
If you really want to add color illustrations into the interior of your book — and you might if you're publishing chapter books aimed at the middle grade market, say — then a print run with a traditional offset printer will be cheaper than the POD (print-on-demand) services offered by Amazon, Ingram Spark, Lulu, and others.
The reason is a technical one. A custom printer has the facilities to print the text of your book on machinery dedicated to black-and-white production, and to print the color illustrations on a separate machine dedicated to color. The pages are then collated and bound together. With the POD services, which use less advanced and less flexible technology, your book must be printed either on the black-and-white printer or on the color printer. So, even if you have just a handful of color inserts, you need to pay the higher cost of color printing for the whole book.
But most self-published books in paperback or hardback editions are novels or other texts with few — if any — illustrations or photographs. So, in most cases, printing your book in black-and-white is the best choice. It's cheaper, and it gives your reader an easier time.
White vs cream paper
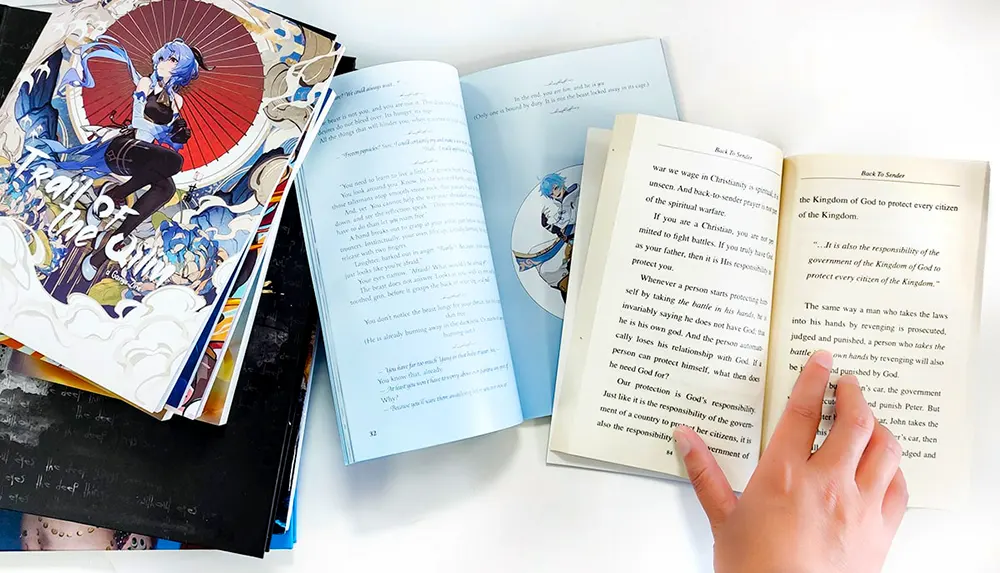
A common question for new self-publishers is whether to use pure white or cream-colored paper for their book interiors. This choice, especially for text-heavy books, makes a big difference in readability and aesthetics. While print-on-demand (POD) services like Amazon KDP, IngramSpark, and Lulu offer straightforward, convenient options, they typically limit paper choices to either white or cream. Many authors find that cream paper is easier on the eyes, reducing glare and providing a softer reading experience compared to bright white.
As self-publishers gain experience and build their readership, some choose to move beyond POD services to custom offset printing, which offers far greater flexibility and quality. By working directly with an offset printer, you gain access to a variety of paper types, colors, and printing options, often at a lower cost per book for larger print runs. This approach lets you fully customize the look and feel of your book—helping you stand out in a crowded market.
For authors just starting, POD platforms are ideal for learning the ropes and reaching readers easily. But if you're ready to expand, build a brand, and take full control over your product's quality, custom offset printing can be a rewarding next step. And with that shift, you can leave behind the limited choice between white or cream and explore the full range of options available for your unique work.
Printing a book with an offset printing service
Step One: book design
When it comes to printing your book, you'll go through several stages of design and production. The first step is to work with your designer to finalize the interior layout; including the typography and any flourishes such as fancy fonts, drop capitals, dividers, and the artwork and layout for the book's cover and dust jacket if you're printing a hardcover. A good custom printing service will give you lots of information, advice and support at the outset. They'll also offer you design templates, samples, and more to pass on to your designer so that the final files are perfectly harmonized with the technology and services the printing company provides. They should also give your designer all the information they need about binding options, paper types, embossing, and so on.
Step Two: Choosing the paper for your book's pages
With Amazon and Ingram Spark, you don't get any choice over paper other than ‘white or cream'. But your custom offset printer will give you a catalog of samples of different colors, weights, and types so that you can make the best choice for your book and see for yourself what effect the printed paper has on the hand and on the eye.
Step Three: Choosing the binding for your book
The next step, once the printing files have been finalized, is to decide on the best binding. Again, the do-it-yourself services offer basic, often inferior, paperback covers or a basic hardback option, and that's it. Your custom printer can advise you on a wide spectrum of possibilities depending on your book and your budget.
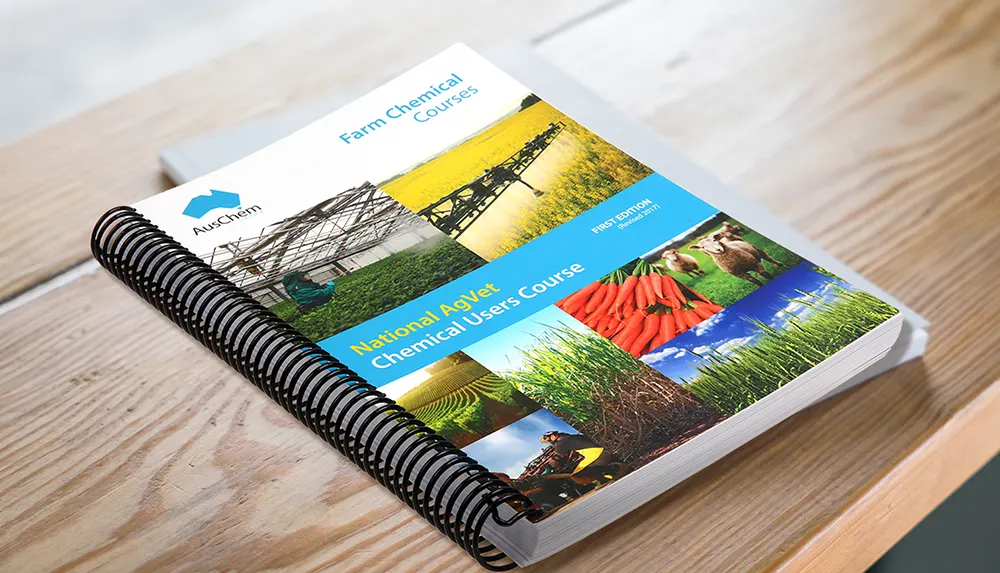
The most popular choices are saddle-stitch or perfect binding. Perfect binding is a durable and economical option for a paperback novel of average length, for example. But then there's also spiral binding, board book binding, sewn-and-perfect bound, and wire-O possibilities. And, of course, hardback.
All hardback books use case binding. Whereas the automated POD self-publishing services offer you very little — if any — choice in this regard, an offset printer will usually give you a range of finishing options, including glue-binding or thread sewing; paper, fabric, cloth or leather; square or round backing; foiling, embossing, and debossing; colored head and tail bands; and ribbon markers.
Step Four: Creating the dust jacket for a hardcover
Dust jackets were first introduced in the 19th century to protect cloth-bound covers. Today, they are a feature in their own right. While still providing the protection for which they were originally designed, they finish your book with eye-catching artwork and the inside flaps give space for a more detailed ‘blurb', quotations from positive reviews, and author biography. The dust jacket artwork and layout will be the responsibility of your designer working closely with the templates and information provided by your printer.
Step Five: Samples and proofs
Before printing your books, you'll want to be certain that the finished product will be everything you've hoped for. Reputable offset printers will always send you proofs and samples before starting a print run, so you have time to check that everything is in order and to correct any errors before going to press.
Step Six: Printing, packing, and delivery
The final step is to print your books. Once they're printed, they'll be carefully packaged to protect them in transit and delivered to you or your chosen storage facility. The best custom printers these days — aware as they are of the needs of self-publishers — will also offer storage for a set period, often up to a year. During that time, they can deliver batches of books, or even single volumes, to you as you need them. So, there's no need to fill your spare bedroom with boxes!
Talk to us. We're here to help
Designing and printing your self-published book is an investment in your work and your readers' experience. While platforms like Amazon KDP, IngramSpark, and Lulu offer simplicity, choosing custom printing through QinPrinting can elevate your book into a unique, high-quality product that stands out. With us, you'll have direct support at every step and access to the best materials and printing techniques. If you're ready to turn your creative vision into a beautiful, professional-quality book that readers will love to hold and display, reach out today. Let's bring your hard work to life in a way that truly does it justice.
Shoot us an email to [email protected] or call us at +1 951 866 3971 and we'll be delighted to discuss your needs.

