We show you, step by step, how to prepare your artwork files for embossing and debossing your print project using Adobe design tools
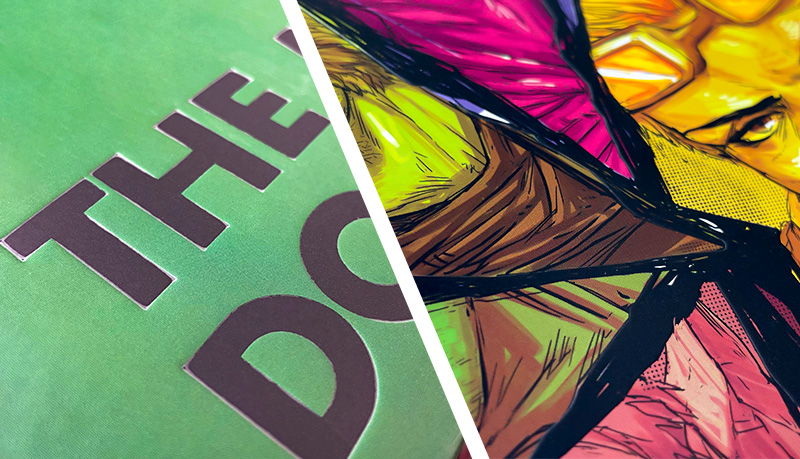
Embossing and debossing are specialist techniques that we use in commercial offset printing to add depth and texture to your projects — whether book covers, packaging, or artwork — by either raising or lowering parts of the cover. These methods can transform ordinary printing templates into visually stunning pieces which enhance the tactile experience and visual appeal of printed materials. But the key to success is understanding how to set up your print files correctly.
In this tutorial, we'll show you how to prepare debossing and embossing for your print project using Adobe Illustrator. By the end of this post, you'll be equipped to add that special touch to your printed projects, whether it's with an embossed design or debossed printing for a book, packaging, artwork, board game, or any other product. Sound good? Great, let's get started!
What are embossing and debossing?
Embossing and debossing are two similar but opposite effects, both offering ways to add depth and texture to your printing projects. Here's a deeper understanding of each for clarity and to avoid confusion:
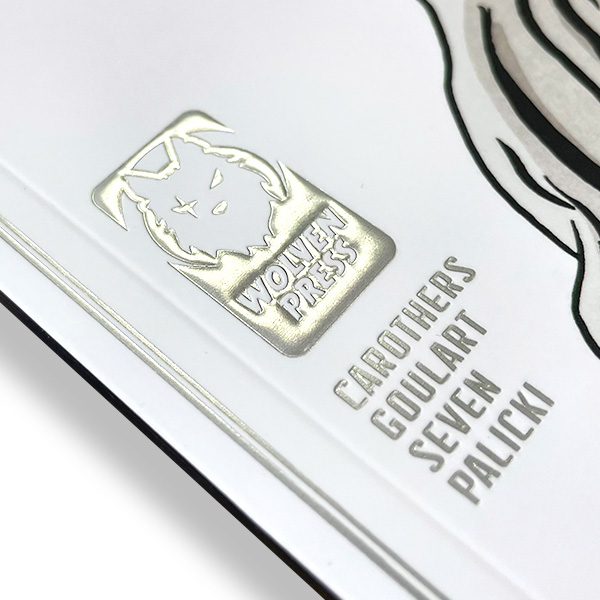
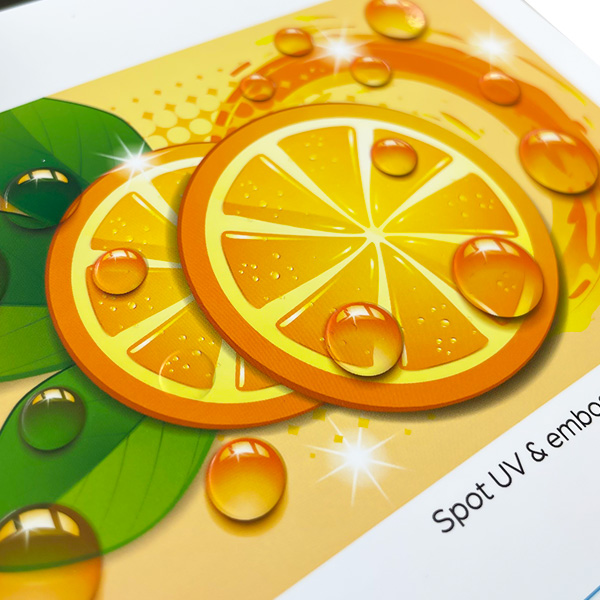
Embossing
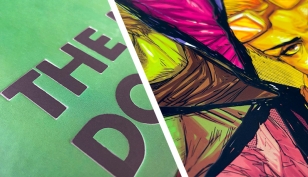
- Raises a logo or image to create a 3D graphic, accomplished by pushing a metal die — the industry name for a metallic mold — into paper from underneath.
- Often paired with color printing, spot UV coating, or foil stamping for added impact.
- Suitable for paper products supporting finer design details due to its ability to raise the image by pressing a sheet of paper between two patterned plates.
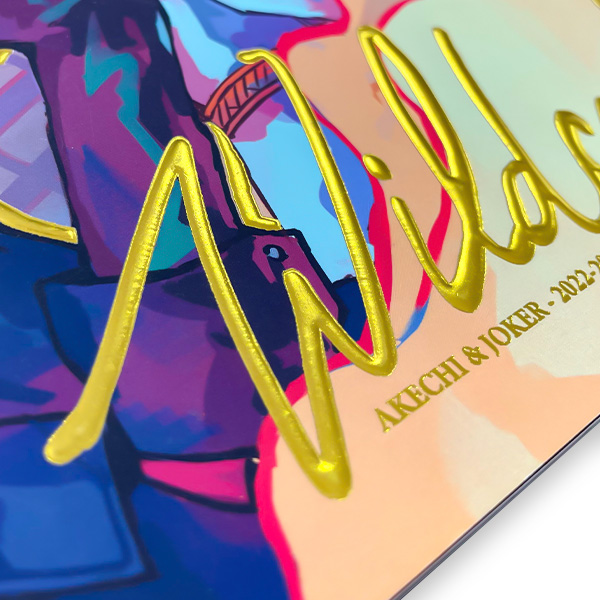
Debossing
- Creates an indented shape in the material by stamping from the front.
- More commonly used for custom imprints on promotional products due to its simpler process and lower costs.
- Best for thick card materials.
- Can be used on a wider variety of materials, including leather and cloth, but is less viable for more intricate designs.
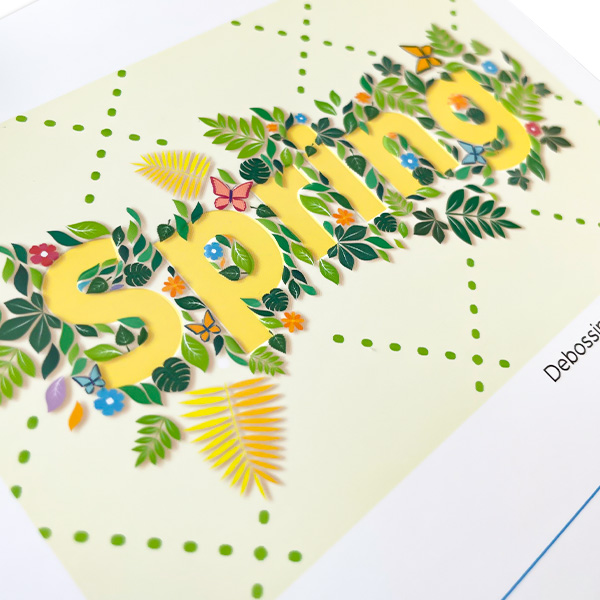
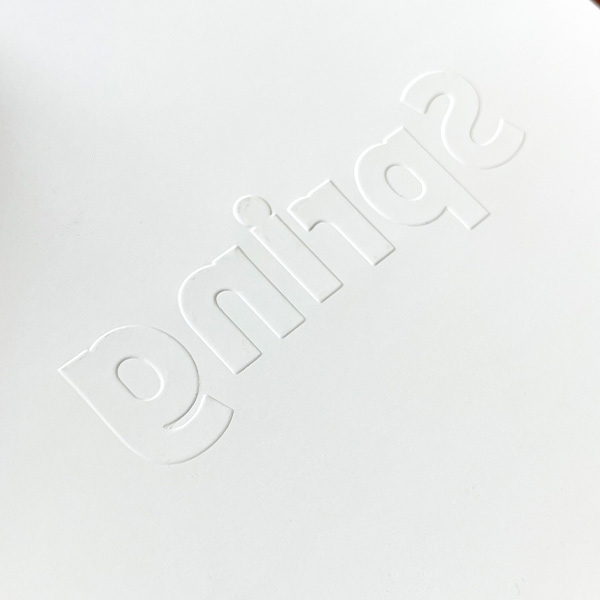
Both techniques can be executed “blind”, meaning plain embossing/debossing, which does not use ink or foil, offering a subtler effect. When designing for either technique, it's essential to use vector graphics for scalability and accuracy in production. If in doubt, discuss the depth you want for your emboss or deboss with us first. Remember, the choice between embossing and debossing can significantly influence the final feel and appearance of your project, making proper file setup and design considerations essential.
How to set up your Adobe Illustrator document for embossing or debossing
When designing for embossing and debossing in Adobe Illustrator, it's paramount to adhere to specific guidelines to ensure your artwork achieves the desired effect. Here's a breakdown of key steps and considerations:
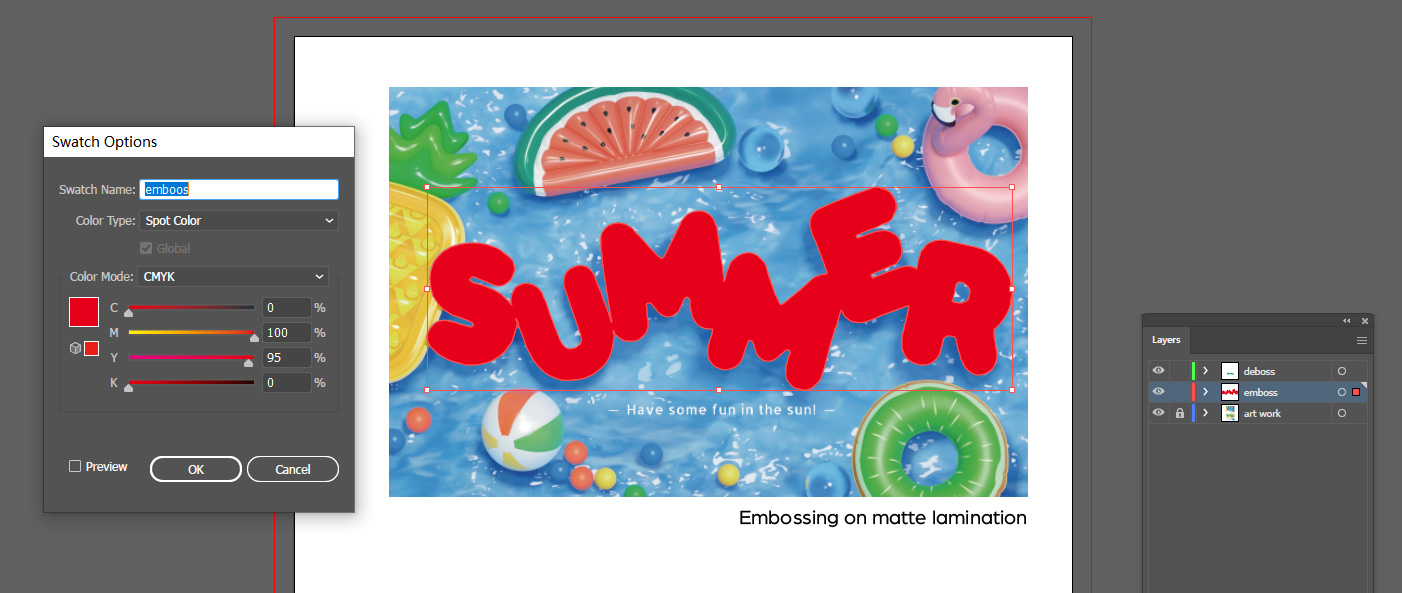
Duplicate artboard and create spot colors for emboss/deboss areas
Creating separate layers for your embossing and debossing areas and the rest of your artwork in Adobe Illustrator is a critical step in making sure your design is ready for emboss and deboss printing. This process allows for precise control over where these effects are applied and shows our press people exactly how you want your finished product to look. Here's how to efficiently organize your document:
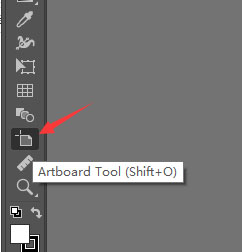
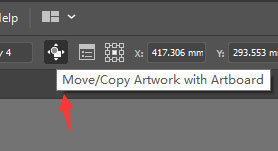
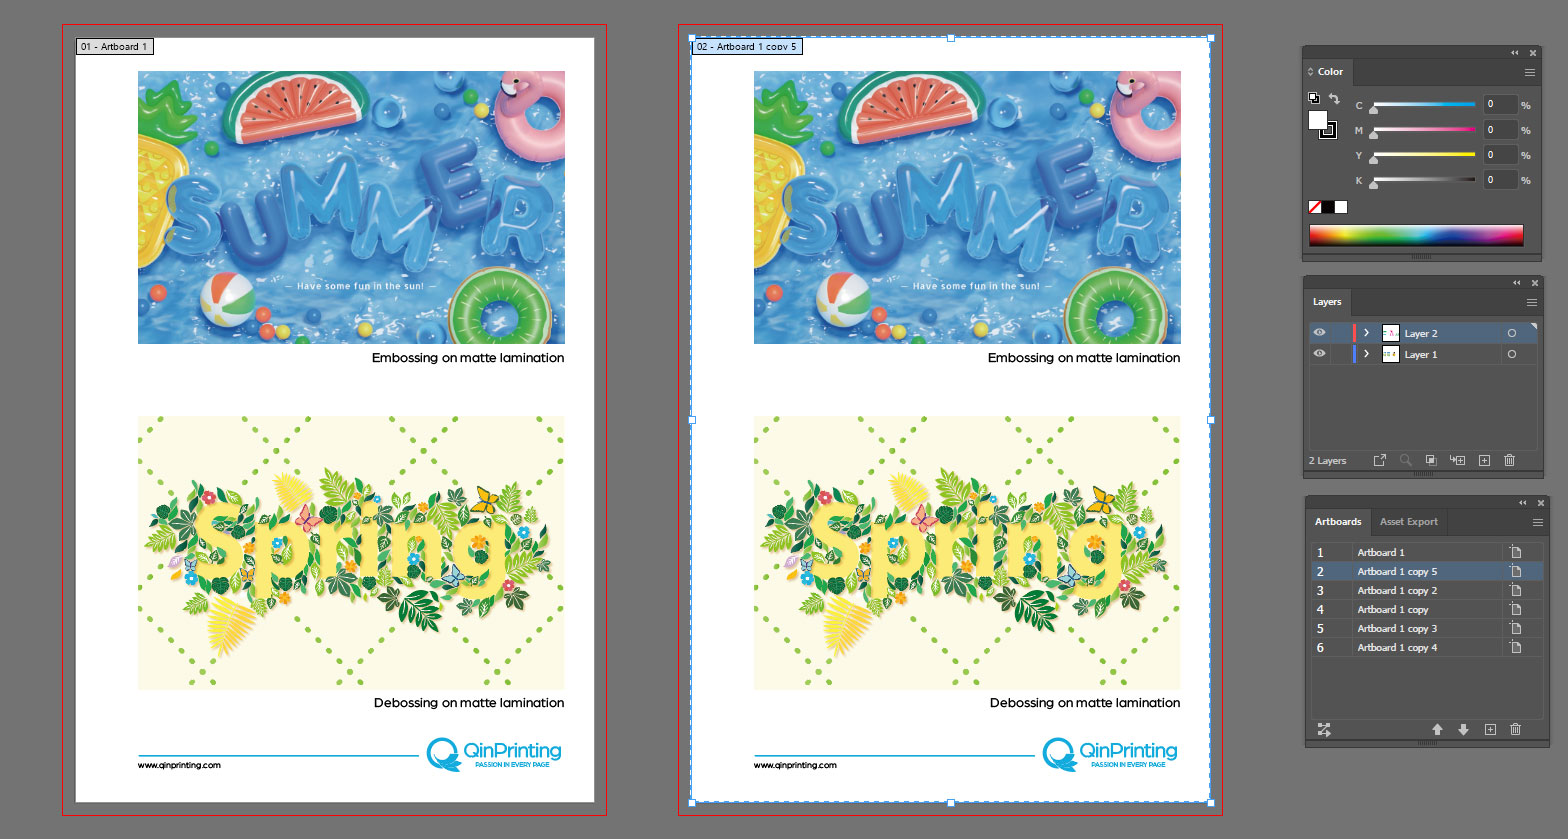
- Use the Artboard Tool to select the current artboard, check Move/Copy Artwork with Artboard, hold down Alt, and drag to copy a new artboard.
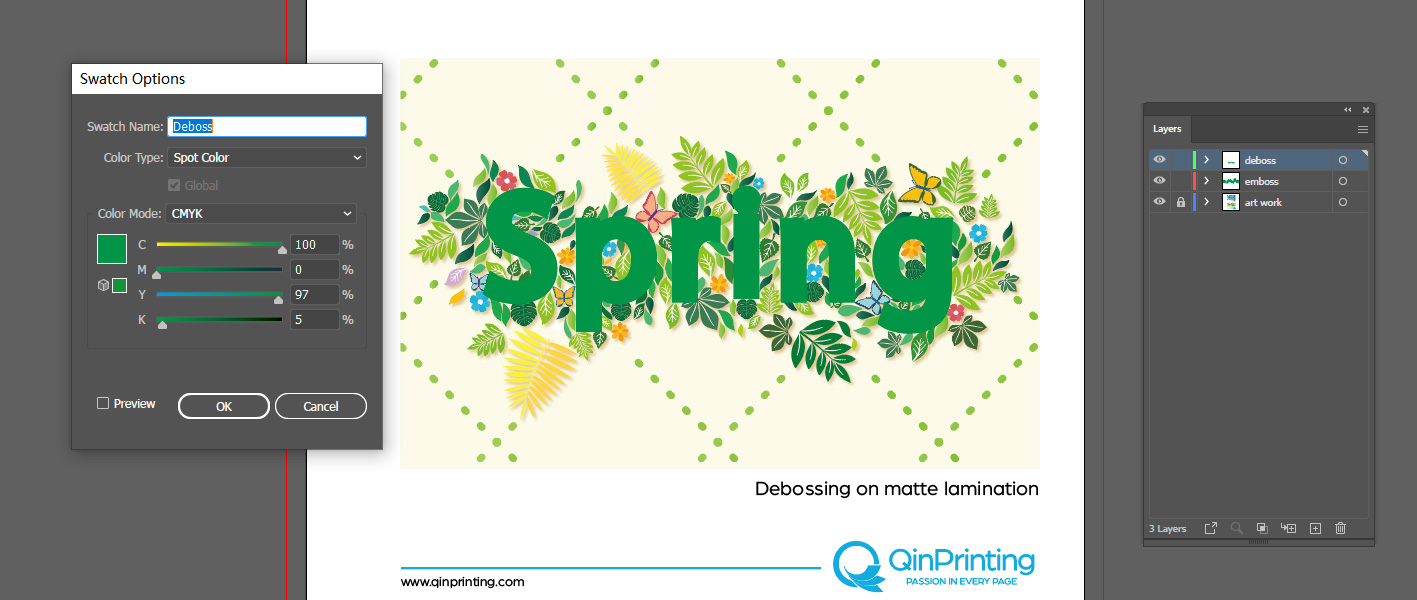
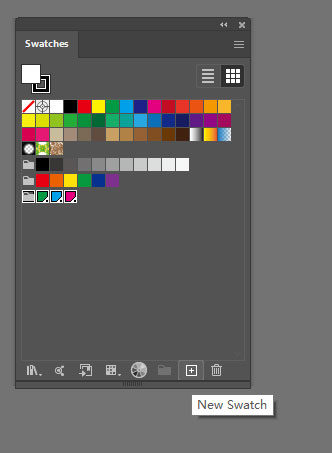
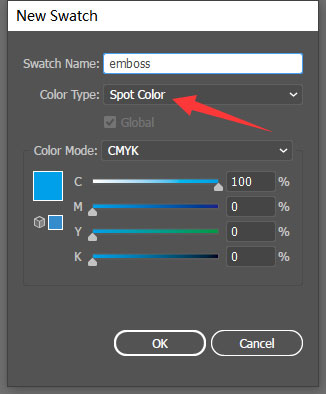
- Create two new swatches named “Emboss” and “Deboss”, both set as spot colors.
File preparation with vector graphics or rasters
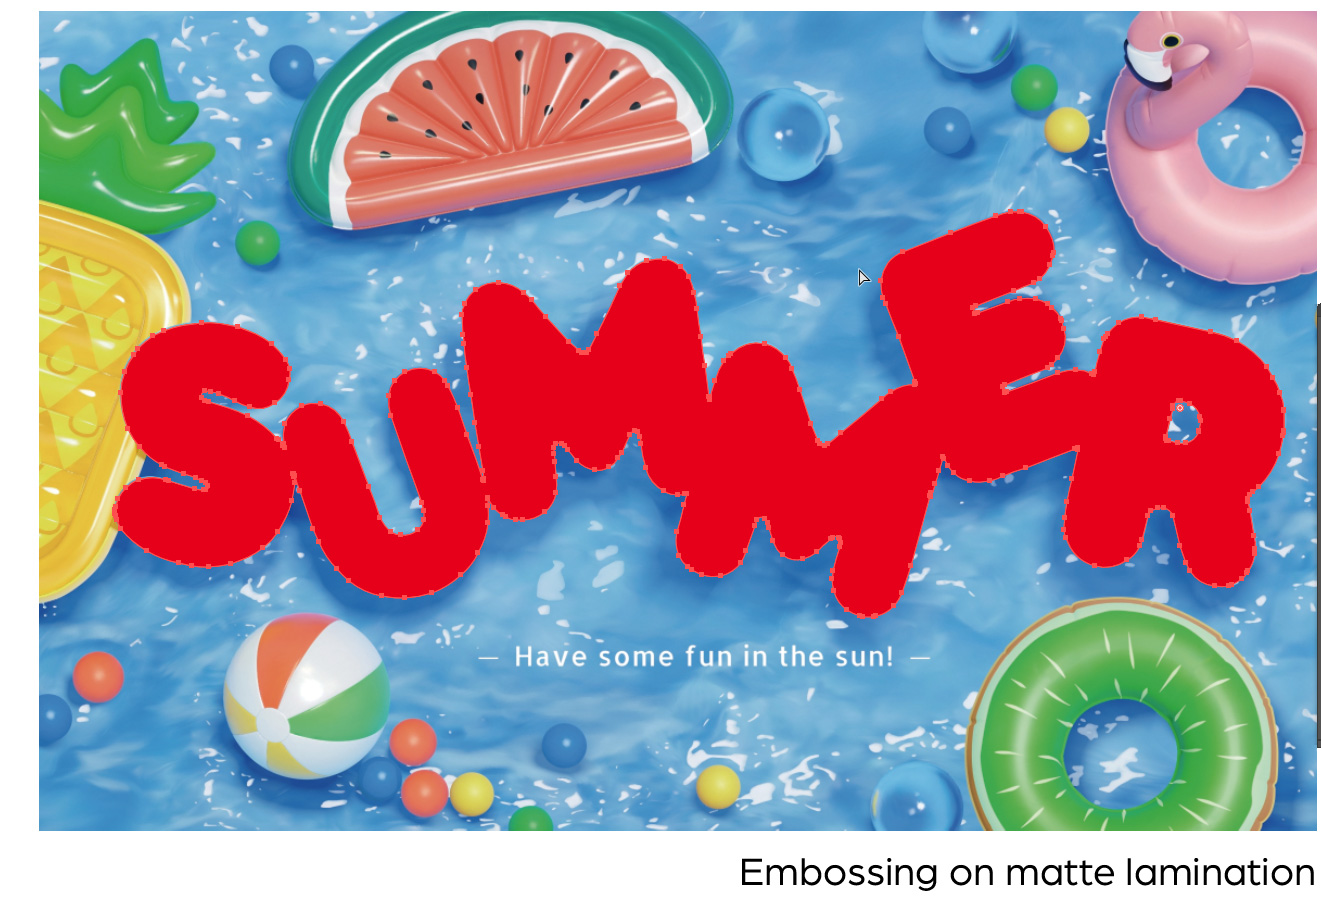
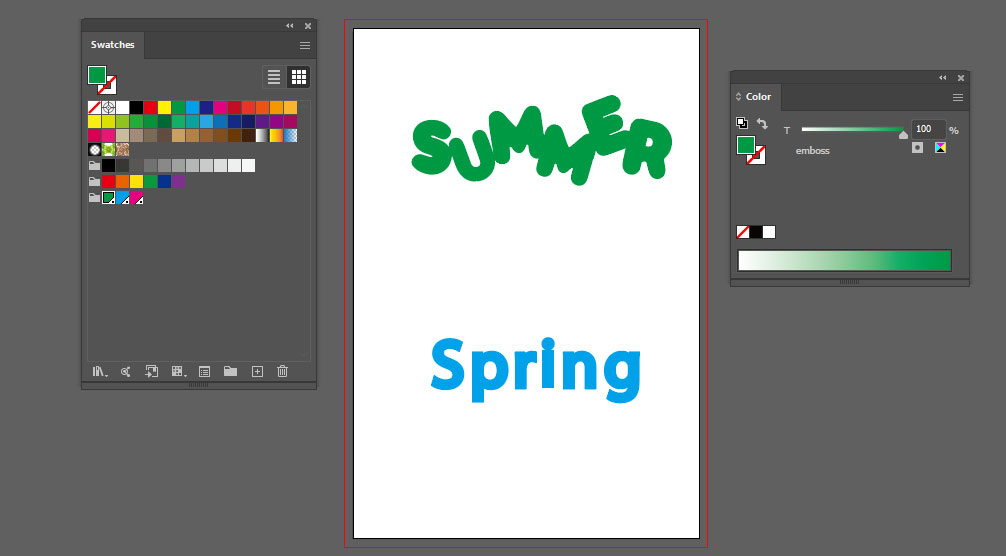
- Apply the emboss or deboss design in this spot color. Use vector graphics for embossed or debossed elements to preserve clarity and scalability.
- If your design is an image, use the Pen Tool to trace the outline of the relevant parts. It is recommended to do this on a new layer.
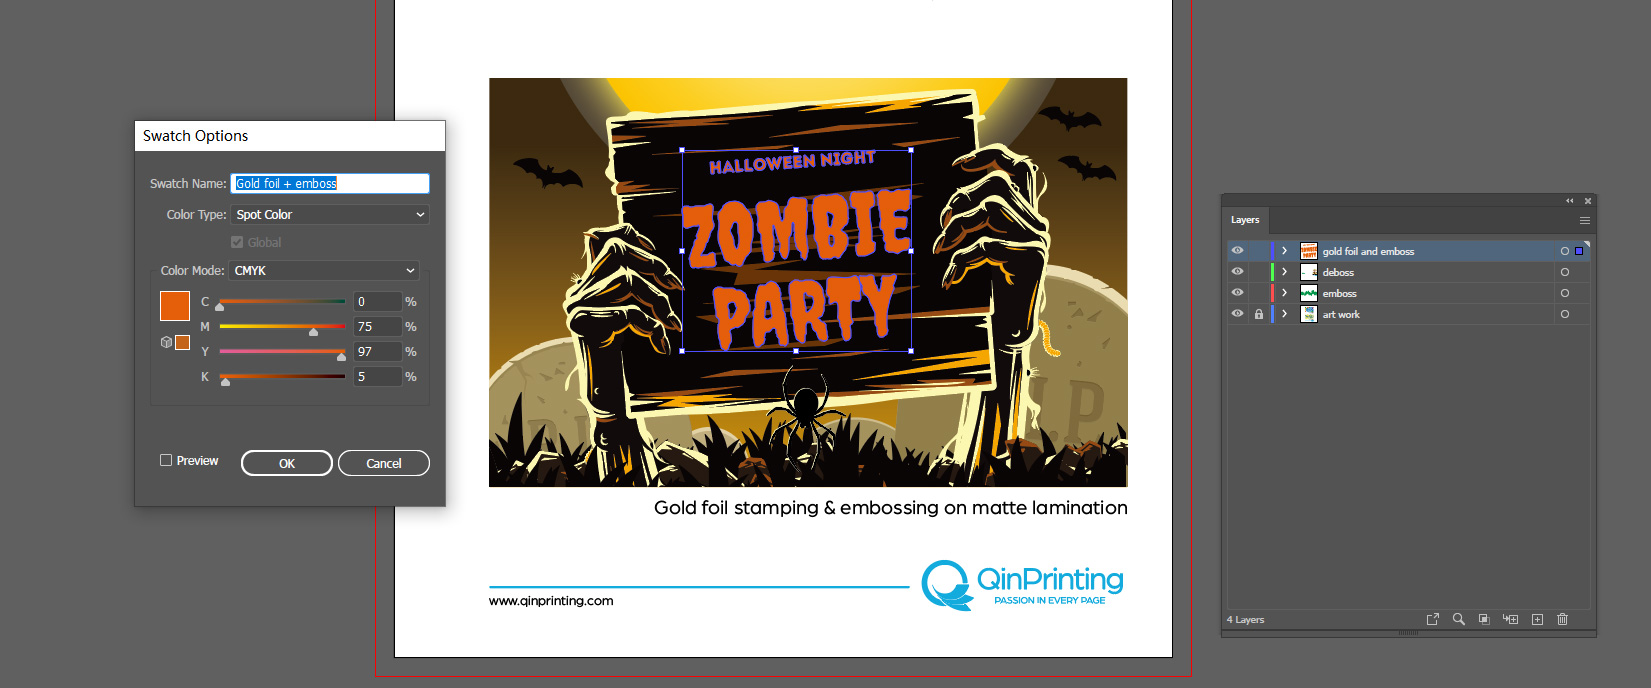
- For designs requiring foil on top of the embossed or debossed zones, create a new swatch named “Foil and deboss, also set as spot colors.
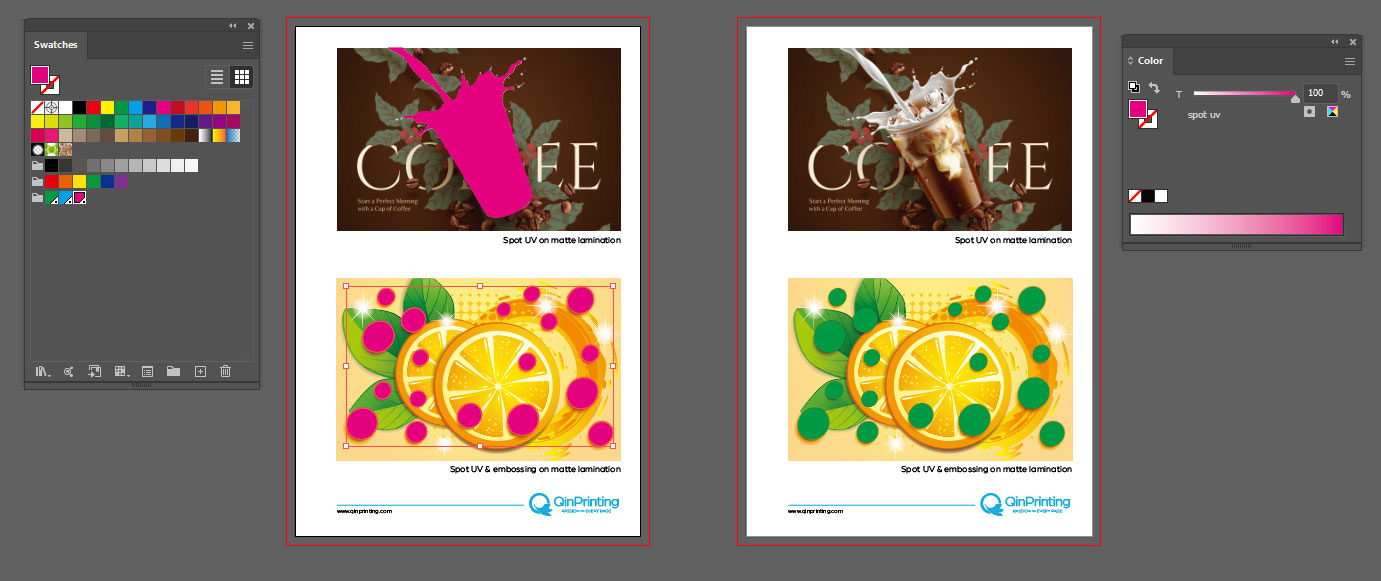
- For designs requiring spot UV on top of the embossed or debossed zones, make a separate artboard for UV part.
- This step is important to achieve the desired visual effect in the final print. These layers will house your specific designs for embossing and foil stamping or inking, respectively, making sure they are easily identifiable and editable.
- Be sure to remove all other artwork that is not for debossing or embossing and leave the spaces white.
- Make sure all layers are aligned accurately.
Preparing & exporting files
As you approach the final stages of preparing your files for embossing and debossing, it's important to focus on the specifics of exporting your designs to make sure they meet our print requirements. Here are the steps and considerations to keep in mind:
- Make sure your file contains a full-color page for the core images or artwork and a single-color page for the emboss/deboss elements as described above, along with the appropriate color swatches.
- After designing, export your document in one PDF.
- When your document includes multiple special finishes (e.g., embossing, debossing, foil stamping, color overprinting), clarity is key. Name your spot color descriptively to reflect their content to avoid confusion.
- Remember to add bleed and safety margins to your design to prevent trimming errors.
Before finalizing, proofread and review your design for any errors or inconsistencies. This last step is so important to guarantee your design translates perfectly from screen to print.
By adhering to these guidelines, you'll make sure your files are perfectly prepared for the embossing or debossing process, ready to impress with their professional and impactful finish.
Talk to us!
Adding embossing or debossing to your print project is an important decision but if you have any doubts about the design side, the best thing to do is to talk to us. With nearly 30 years' experience behind us, state-of-the-art offset printing technology at our fingertips, an enthusiastic team of experts eager to help you, and a genuine commitment to customer service, we'll be happy to give you the best advice to help and support you can imagine to make your embossing and debossing effects come out perfect. Get in touch today for an informal chat or a no-obligation quote. We can't wait to work with you!

