We take you step-by-step from drafting your comic to the final printed product including all the technical stuff made easy

If you love comics as much as we do, then sooner or later, you'll get the creative itch and start to think about publishing your own. Whether that's just for the passion and pleasure of seeing your dream in print, to embark on a career as a self-publishing comic book writer, or to pitch a professional-looking idea to a mainstream publisher, we get you. We've helped more creatives just like you to take their idea from draft to printed comic book than we can count. So, let's dive into this guide on how to print a comic book — for pleasure, profit, or both.
How to write and illustrate your comic book
To state the obvious, before we can print your comic book, you must write it and illustrate it. Now, in the professional world of comic book publishing there are three kinds of creatives: writers, illustrators, and writer-illustrators. Which are you?
If you're a writer only, you'll need to engage the services of a skilled comic book illustrator to handle the graphic side of your project. If you're an illustrator only, you'll need a writer to put together the text and dialogue — or create a comic which is purely visual, which may work depending on your concept. If you're a writer-illustrator, then you'll handle all the content yourself.
But whichever kind of creative you are, certain aspects of the development of an idea into a completed comic book are more-or-less universal. For example, in most cases, the writer — whether that's you or someone else — will draft the text to make sure that the characterization, dialogue, and story line are all tight, impactful, well-executed, flowing, and complete. Often, writers will also rough out simple pencil sketches — even just using stick figures at this stage — to make a provisional storyboard and experiment with the placement of text and speech bubbles in relation to the images.
Once the text is finalized, then the roughs can be passed to the illustrator. This is typically a collaborative stage with a lot of back-and-forth between the writer and the illustrator. But the clearer and more detailed the illustrator's brief from the writer, the smoother this process will be.
While some illustrators still work in the traditional way on a layout board with pen and ink, most use specialist graphics and illustration software like Photoshop, Clip Studio Creator Pro, ComiDraw, or ComicLife 3. It's important to allow a lot of give-and-take at the creative level and build a positive rapport with your illustrator as this invariably makes for a better comic than if you have very rigid, fixed ideas you want to impose.
Once your basic comic is completed: text, dialogue, and graphics, it's time to move on to the next stage of how to print a comic book. With the artwork and layout of the covers and pages finalized, your comic will need to be digitized — if it wasn't created digitally in the first place. Then you must get all your digital files ‘print-ready'. Your illustrator may already know everything there is to know about how to do this. If not, we can help as we have our own in-house graphic designers with lots of experience and enthusiasm to hand.
If you haven't already gotten your printer involved, now is the time to do so. There's no harm in talking to us right at the outset as we can help you and your illustrator — even if you are the same person! — with the technical side of the printing operations which can influence decisions about design. Let's dive into that stuff now.
Comic book sizes
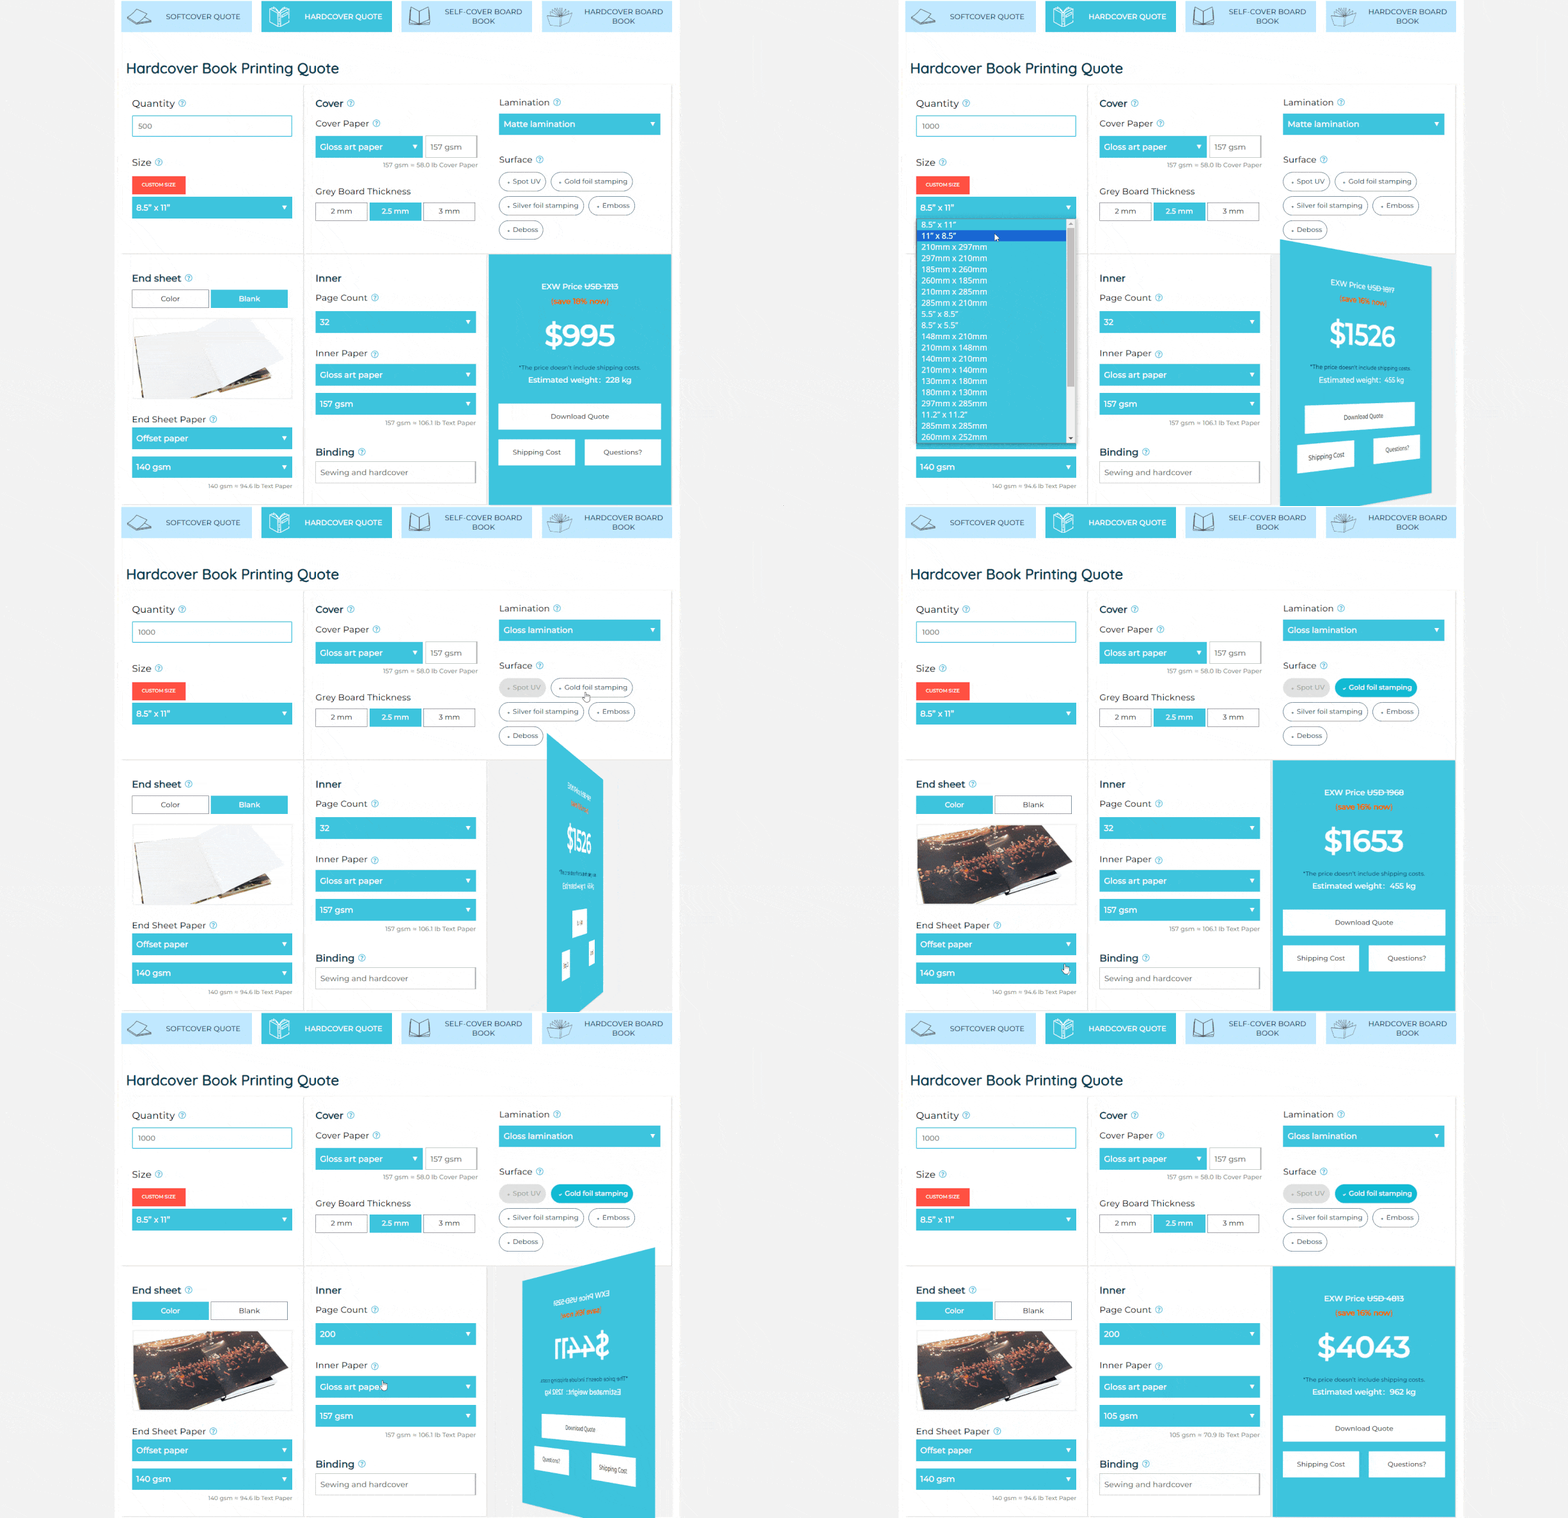
The size of your comic has implications not only for cost but also the expectations of your readers and its overall look and feel. As a rule of thumb, the bigger your comic book, the more it will cost to layout and print. Typically, comic books can range in size from as little as 5.5 by 7.75 inches up to a fairly whopping 9 by 12 inches. The most common format lies between these two extremes at 6.7 by 10.2 inches. Our standard sizes include 6.7 by 10.2; 7 by 10.375; 5 by 7.5; 6 by 9; 7.3 by 11; 5.5 by 8.5; 8 by 10; and 8.5 by 11.
We can also make custom sizes for you, but that will add significantly to your expenses. Your best bet, especially if it's your first comic book, is to run with a standard size. It will be cheaper, meet readers' expectations, and give you a quicker turnaround on production.
The right paper for your comic book
Paper weights are a standard measure of the quality and thickness of a paper. Here in China, we use gsm (grams per meter) but in the US and the rest of the world, lbs (pounds) are the typical metric. Paper may be coated or uncoated. Coated paper has a more vibrant appearance when printed and is more resilient.
Most standard comics use uncoated papers for the inside pages with a gloss coated cover. But — unless you are working to a very restricted budget — we usually recommend that you use a heavier paper stock for the interior as well. A matte coated 55 lb or 70 lb (80 gsm / 105 gsm) paper will give a brighter, more attractive finish to the artwork, feel better quality in the hand, and last longer through repeated readings. If you really must cut costs, the thinnest viable paper for a comic book would be a 50 lb (70 gsm) uncoated paper; but with a paper as light as that, there's a risk of ink bleeding through to the other side and it may tear easily if not handled with care.
If you have a healthy budget and want to get the best, most professional look, with artwork that pops off the page, and a truly durable comic book to last a lifetime, go for a 100 lb (157 gsm) gloss coated paper for the cover and an 80 lb (120 gsm) matte coated or offset paper for the inside. And to make your comic book truly stand out from the crowd you could use UV gloss coating for the cover art, and add foil stamping and embossing for the title, author and artist names, and other details. There's a lot to consider when working out how to print a comic book!
Binding
You have three options available for your comic book binding. Which you choose will depend on your budget, the number of pages, and the quality and look you want to achieve. Here's a quick summary of the three types of bindings:
- Saddle stitch (sewn or stapled) — this is your least expensive option and is a great binding for shorter books of up to 48 pages in length.
- Perfect binding — this is the same binding most printers use for paperback books, with the interior pages glued to a spine and cover made from heavier, coated paper stock. If your comic book has more than 48 pages, this is the best choice. For an even more robust result, you can combine stitching with perfect binding, too.
- Hardcover (case) binding — this is the most expensive option, but ideal for special editions, collections, or very long graphic novel style comic books with several hundred pages. The pages are sewn together into ‘signatures' and then bound into a hardboard casing, covered with high-quality gloss paper. Think of a coffee table book and you have a good idea of the durability and quality of a hardcover case binding.
If you want your project to be extra-special, consider a slipcase, inserts, a flyleaf, and a ribbon marker. If you're not sure which would be best for you, talk to us. We don't charge you to chat! And as it matters to us that you get the best comic book possible within your budget, we're always happy to share our expertise with you and give you our best advice.
Black-and-white vs full color comic book printing
We can print your comic book in crisp, clear black-and-white throughout, part-color print it, or use full color on every page. The choice is yours and, again, depends on how much you have to spend, the artwork you've created, and what you want from the finished product. If you choose black-and-white for the interior — and many fabulous comics are printed this way — it's still worth splashing out a little to make a beautiful, full color cover to make your book more attractive and attention-grabbing at first sight. Although, with the right artwork and design, a black-and-white cover can be equally arresting.
Pre-printing work on your comic book
By now, you've probably figured out why it's a good idea to get in touch with your printer — we hope that'll be us, but other printers are out there — before you get too deep into the design phase. There's a lot of technical stuff — paper weights and sizes, ‘bleed' and ‘quiet' areas, trim sizes, color spaces (for example, software uses the RGB color space, whereas printing machines use the CMYK color space, so there's some pre-printing conversion to do on the files), pagination, binding options, finishes, coatings, and much more — that you'll need to know about before you complete your comic book design.
Comic book proofs
A proof is a sample copy of your finished comic book for you to check that everything's in order before ordering a print run of more copies. Some printers don't offer full printed proofs — just digital versions — but we believe that you need to hold your book in your hands to be sure that you're getting the first-class product you've paid for and that it's error-free before going to press.
For that reason, we have a built-in proof service. The proof — up to 200 pages — will be an exact version of what your finished product will be like including any fancy features such as gloss art paper, flaps, and UV spotting. Whether you choose us or another printer, always make sure that they'll give you a decent proof copy before you commit.
Ready to make your dream a reality?
That — in a nutshell — is how to print a comic book. If you're ready to get started on this exciting creative path of comic book creation, it's never too early to get in touch. We've been in the business for decades and have lots of experience under our belts. Talk to us today and, if you like, we'll give you a no-obligation quote for printing your comic book. And if you're not ready to talk print, we'll be happy to answer all your questions about what's involved. We can't wait to welcome you into our family of happy comic book creators!

