Die-Cutting
When you need a design feature that distinguishes your print product—whether a book, a custom printed box, a deluxe board game, a presentation folder, a promotional brochure, or anything else—and gives it an eye-catching visual appeal. Die-cutting is a simple but beautiful and cost-effective technique to do just that. But what is die-cutting?
What Is Die-Cutting?
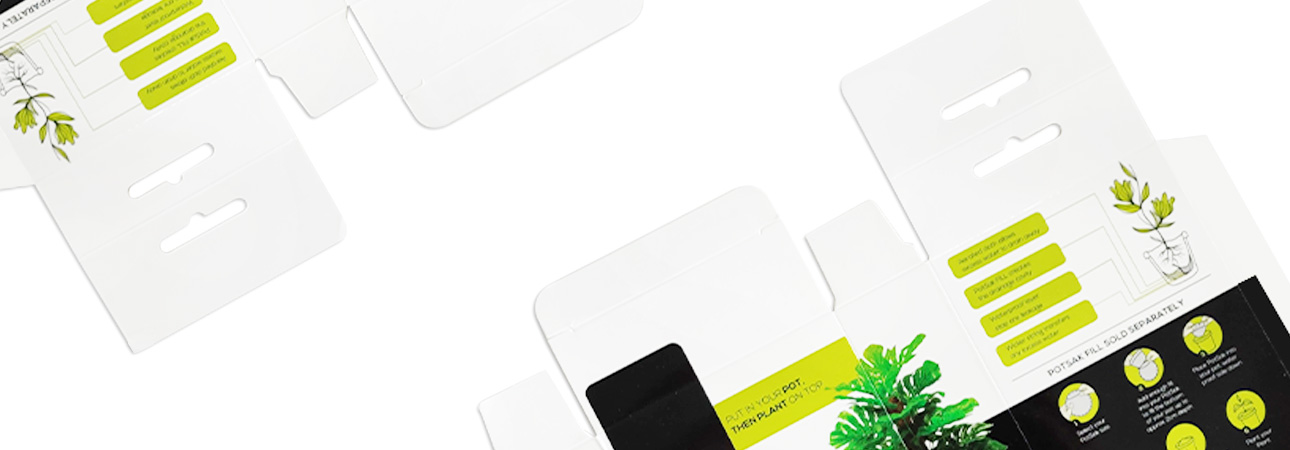
Die-cutting is a mechanical process by which we cut out a section of a design—either lettering, a “window”, any other shapes, the edges of a page, etc.—from the surface of a printed sheet. First, we make a metal mold of your design called a “die”, which we then press into the sheet using a special machine which makes a precise cut. The result is an eye-catching effect which can be applied in several creative ways. Any paper that is rigid enough to hold its shape after cutting will work in the process.
The Advantages of Die-Cutting
Die-cutting has the potential to impress your customers and elevate your products, but whether it's the best option for your design will be influenced by the product style, the market for which it's intended, and your available budget. With that in mind, let's list the principal advantages of die-cutting to help you come to the best decision for your project.
- Die-cutting is an essential part of the process of making custom packaging and boxes. The basic template includes die-lines which are then cut to create the panels, flaps, and tabs, before folding and gluing the box together.
- Die-cutting is an eye-catching design feature which distinguishes your print product from the run-of-the-mill, communicating artistic flair and high quality.
- It's a design element—for example, with the “window” effect—which you can use to arouse curiosity in the viewer, encouraging them to pick up your product and look inside.
- Die-cutting on its own is a relatively economical effect compared to, say, foil stamping, although it has a high impact.
- It adds significant perceived value to your product, making it more likely to be kept, treasured, enjoyed, and shared.
- Die-cutting can be applied to any product where a special shape or design effect is needed—such as children's pop-up books, for example, stylish presentation folders, perforations and more.
- Die-cutting gives your printed materials a unique and interesting look and helps draw attention to your brand identity.
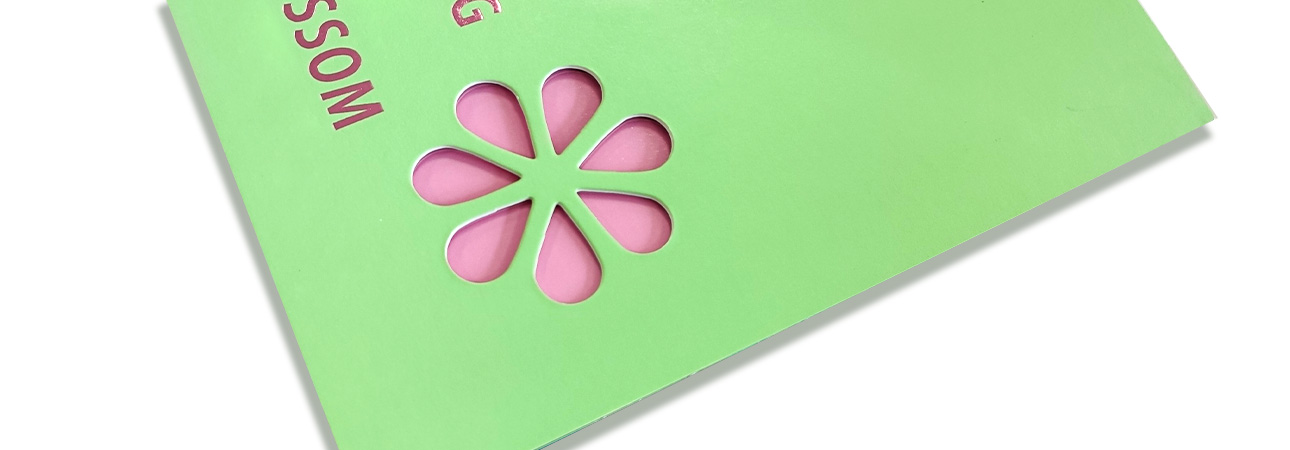
These are just a few of the advantages of die-cutting. Die-cutting makes any print product that bit special and so it's a desirable choice for products which need to stand out from the crowd, from custom paper boxes, deluxe board games, special book cover designs, and more. And, of course, it is a vital aspect of box design and production.
Popular Applications for Die-Cutting
We can apply die-cutting successfully to many print products. It lends interest and appeal to those products and encourages customer interaction. So, let's see what impact it has on the appearance of several popular printed products.
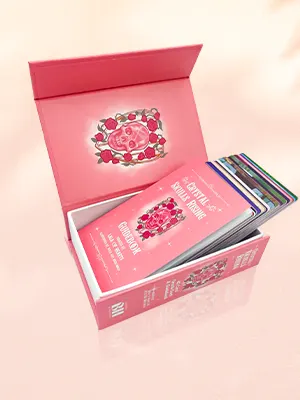
- Custom boxes—from the core design template to windows and other enhancements, die-cutting plays a vital role in custom packaging design and construction.
- Children's books—children's books are often interactive, especially at the younger end of the market. Die-cutting is a cost-effective and efficient way to engage children's interest, arouse curiosity, and develop their interest in reading. Well-designed die-cutting on the pages of a board book, for example, can turn reading into a game-like pleasure for many young ones. It is also the perfect way to create pop-up books, which are perennially popular with juvenile readers.
- Catalogs with tabs—another popular way to use die-cutting is to make catalog pages which have tabs. Tabs can help the user quickly locate a relevant section or product page and so enhance the overall value of the catalog.
- Presentation folders—presentation folders also use die-cutting for the basic shape and fold as well as special effects and windows.
- Rigid boxes—die-cutting can be incorporated into custom rigid box designs in several ways to enhance the visual appeal of the packaging and arouse the interest of the customer.
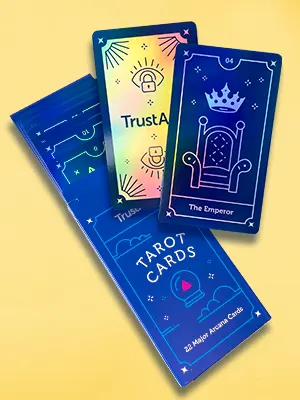
- Cards—tarot cards, playing cards, and flash card which have round corners will also need to be die cut. Rounded corners make the cards safer, easier to handle, and more aesthetically appealing.
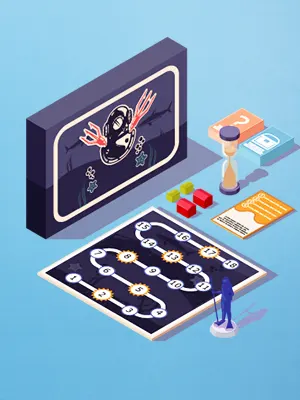
- Board games—Adding die-cutting to the box creates extra interest and the process can also be used in the design of custom components such as “standees”, tokens, and more.
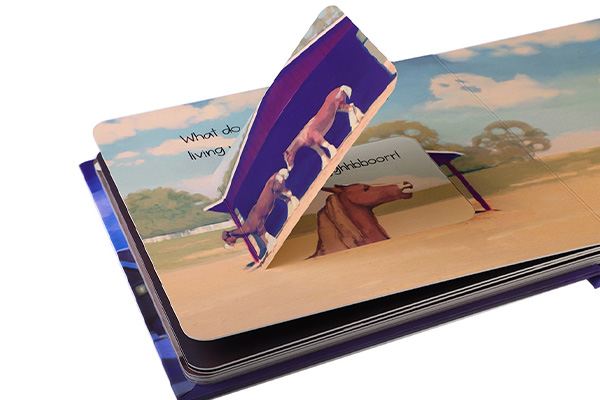
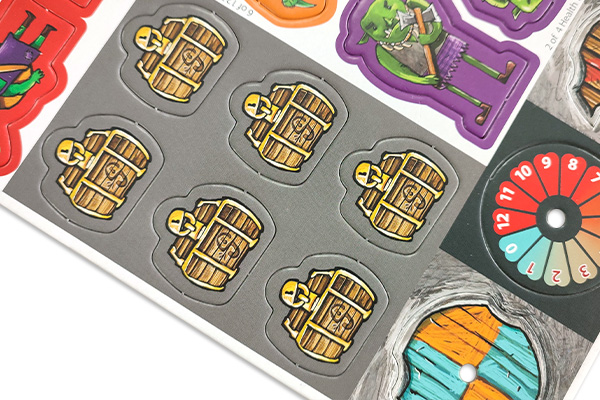
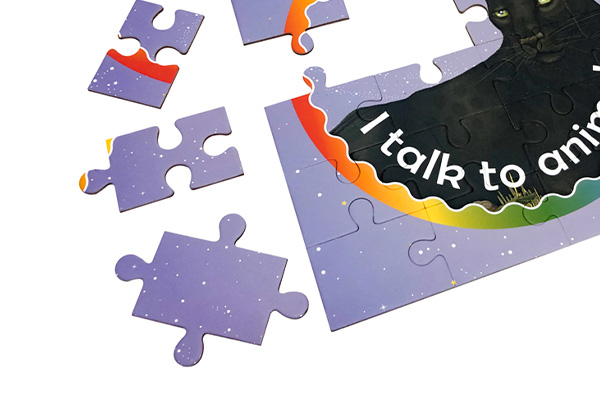
We hope the above examples will help you appreciate the special qualities of die-cutting and its appeal. It's a powerful but relatively cost-effective option, and if you want to add something unusual and appealing that you know your target market will love, it will probably give you an excellent return on your investment.
Die-Cutting Artwork Tips
To get the best results from die-cutting, it's important to understand how to prepare the finished digital files for correct printing. So, here are a few helpful tips to guide you when you're preparing your digital files for die-cutting.
- Before starting your die-cut artwork, please get in touch with us and we will supply you with a custom template.
- You can also make it yourself, and make a separate file for the shape that needs to be die-cut.
- Don't forget to give the cut lines and folding lines different colors so that the printer can easily see which is which.
- When creating your file, always make sure that the alignment of the die-cut file and artwork file are exactly the same. This includes the overall size of the files and the positioning of all shared elements.
- Set up your graphics as vectors in PDF format for the best results. Our recommended software option is Adobe Illustrator.
- While the design is in two dimensions, to check the finished result, ask us for a three-dimensional sample before you order a run.
1. Open the design with vector file creation software such as Adobe Illustrator.
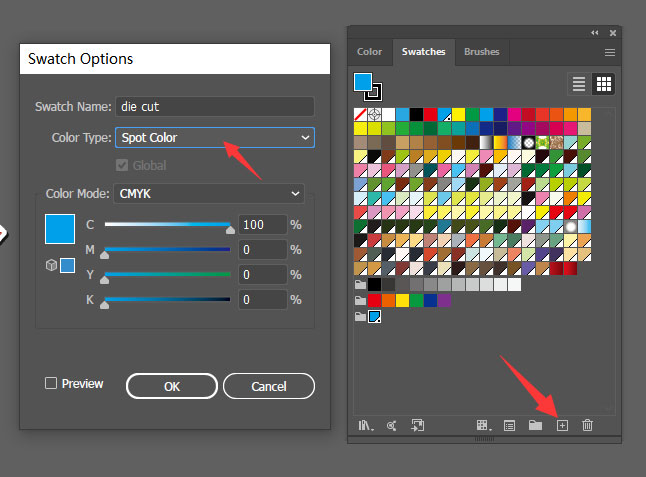
2. First, create a new color in the Swatches panel and name it ‘die cut'. Set the color type to ‘Spot Color'. Adjust the values to any color you like, but it must not be white.
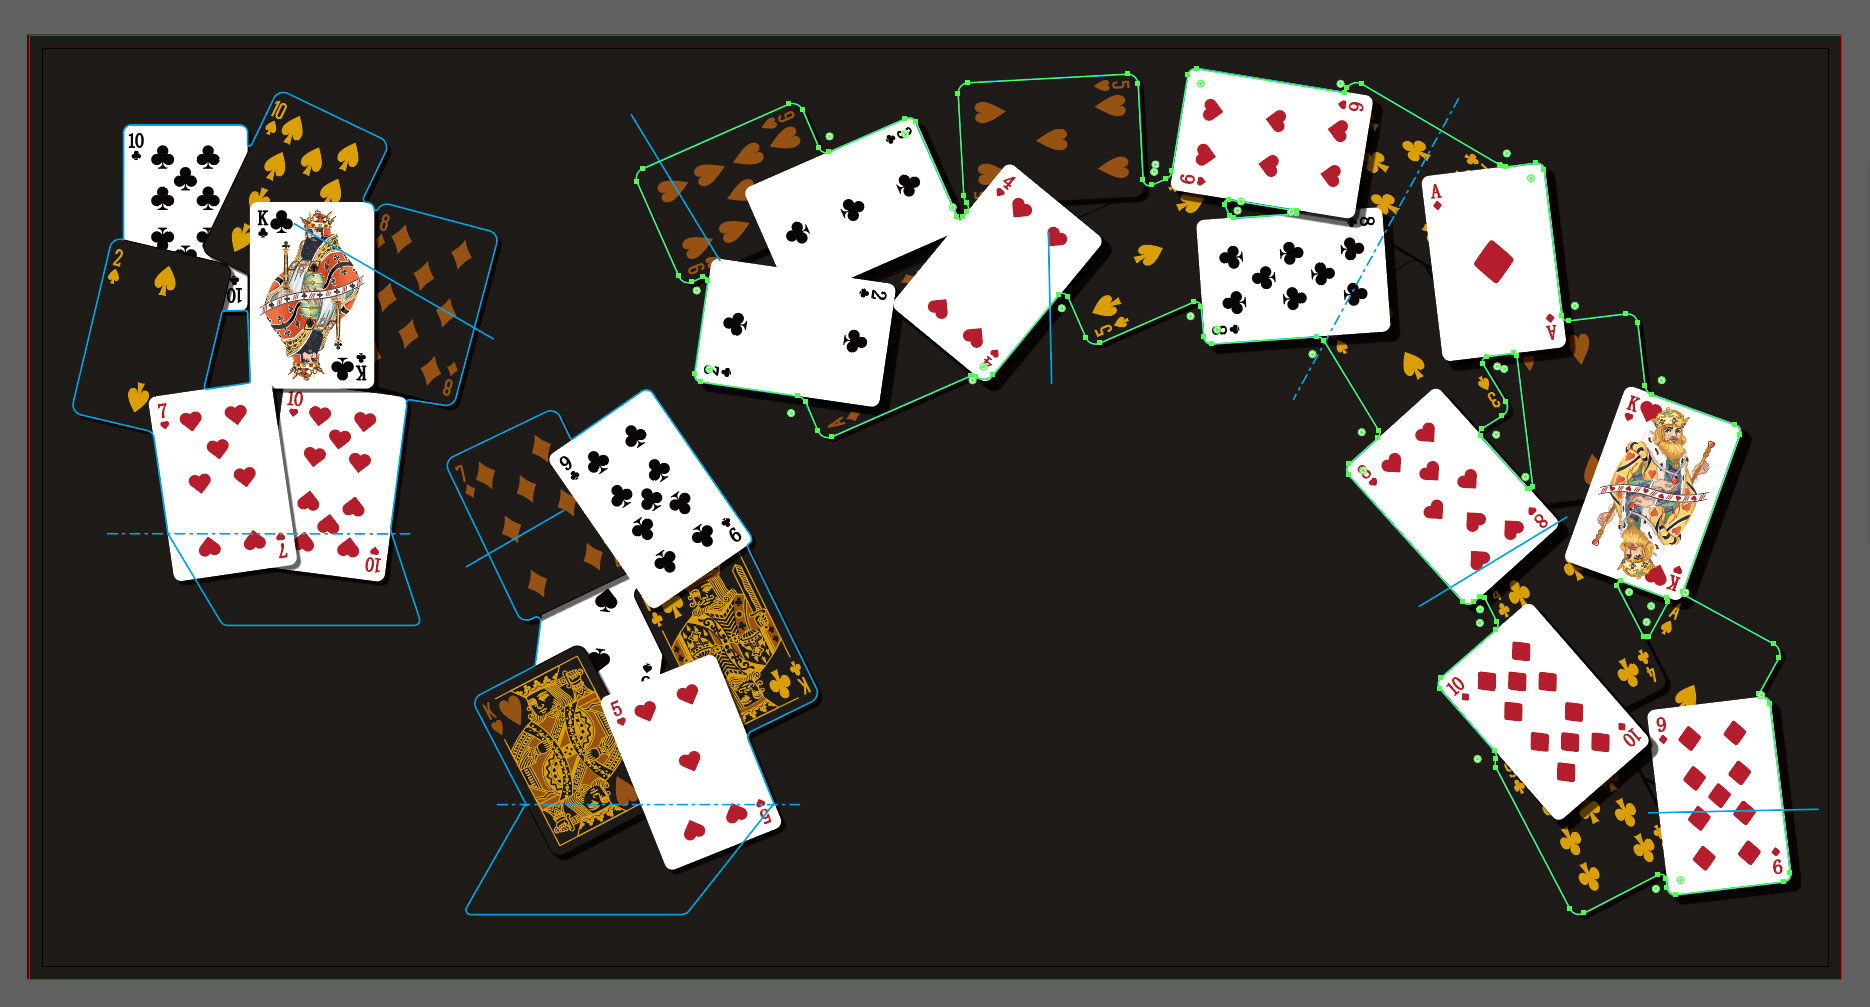
3. Use tools such as the Pen or Line tools to outline the areas that need to be die-cut. When drawing the lines, it's best to make the corners rounded.
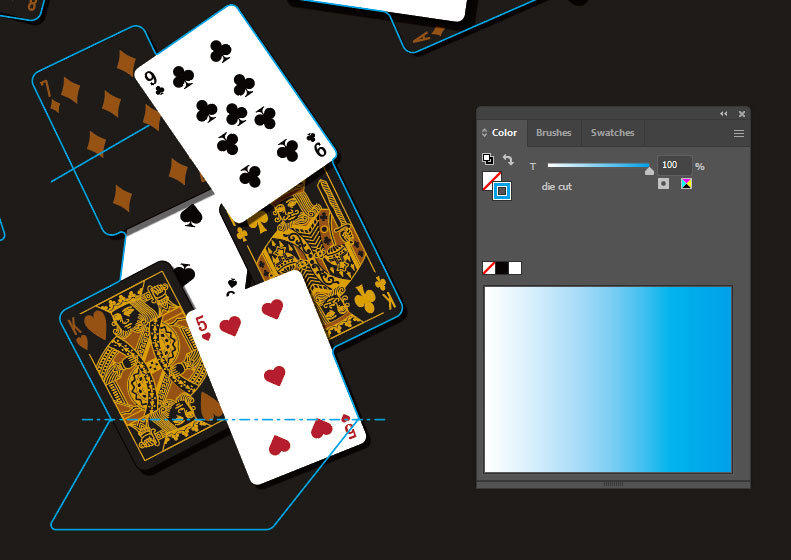
4. Set the stroke color of the outline to the spot color you just created.
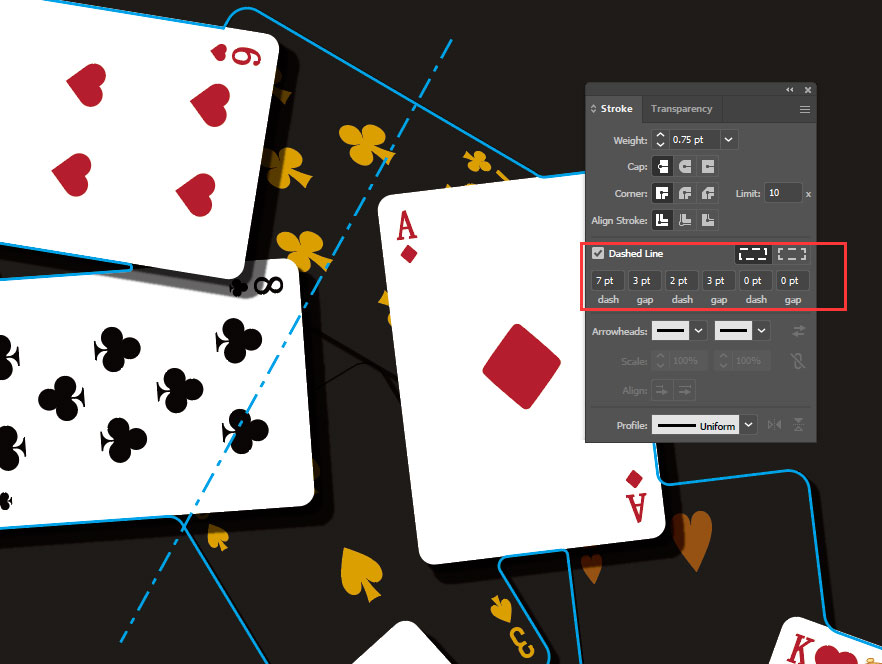
5. In the Stroke panel, you can set different types of lines. Solid lines generally indicate die-cutting, dashed lines indicate valley folds, and dot-dash lines indicate mountain folds.
6 Of course, you can also use other types of lines or different spot colors, just make sure to mark them clearly.
7. Choose ‘File – Save As' and save the file in PDF format. Make sure to include bleed when saving.
8. Open the PDF with Adobe Acrobat. You can use the ‘Output Preview' function under ‘Print Production' to check if the spot color has been applied correctly.
If you're working with a professional designer to prepare your files, they should be competent to get everything ready for die-cutting. But if you're unsure of anything, please talk to us. We'll be happy to explain what's needed step-by-step, liaise with your designer when necessary, and manually check everything ourselves to make sure it all goes smoothly and you end up with a perfect die-cutting effect. If we discover any errors, we'll let you know, explain what the problems are, and help you fix them.
Need More Help? Talk to Us!
Deciding to apply die-cutting is an important decision which changes the appearance and quality of your finished printed product, the design process, and the cost. If you're not sure about whether it's right for you, the best thing to do is to talk to us. With over 25 years' experience under our belts, the latest offset printing technology at our fingertips, a vast knowledge of paper, coatings and finishes of all kinds, and a genuine commitment to customer service, we'll be happy to give you the best advice to help you choose the perfect solution for both your print project and your budget. Get in touch today for an informal chat or a no-obligation quote. We can't wait to work with you!

