Discover how to create professional-quality book interiors effortlessly with QinPrinting's customizable templates and Adobe InDesign — perfect for authors, publishers, and indie artists
Creating a beautifully designed book interior can feel like a complex task, especially for independent authors and small publishers who may not have access to a professional designer. Luckily, QinPrinting’s pre-made, customizable templates make the process both straightforward and enjoyable. We’ve designed these templates to simplify the layout process while helping you get a polished, print-ready result without too much stress. Whether you’re publishing a novel, a cookbook, a photo-heavy coffee table book, a fine art portfolio or anything else, our templates offer an ideal starting point, providing both structure and flexibility.
Adobe InDesign has long been the gold standard for professional book design, known for its robust features and precise control over layout and typography. However, mastering its intricacies can take time. This is where QinPrinting’s templates come in: they bridge the gap between professional design standards and user-friendly accessibility. By pairing InDesign with a customizable template, even a beginner can achieve a layout that rivals the work of seasoned designers. Let’s get straight into how you can use our templates to design your book’s interior with minimum fuss and maximan fun.
Step-by-step guide to using QinPrinting templates in Adobe InDesign
1. Download and customize your template
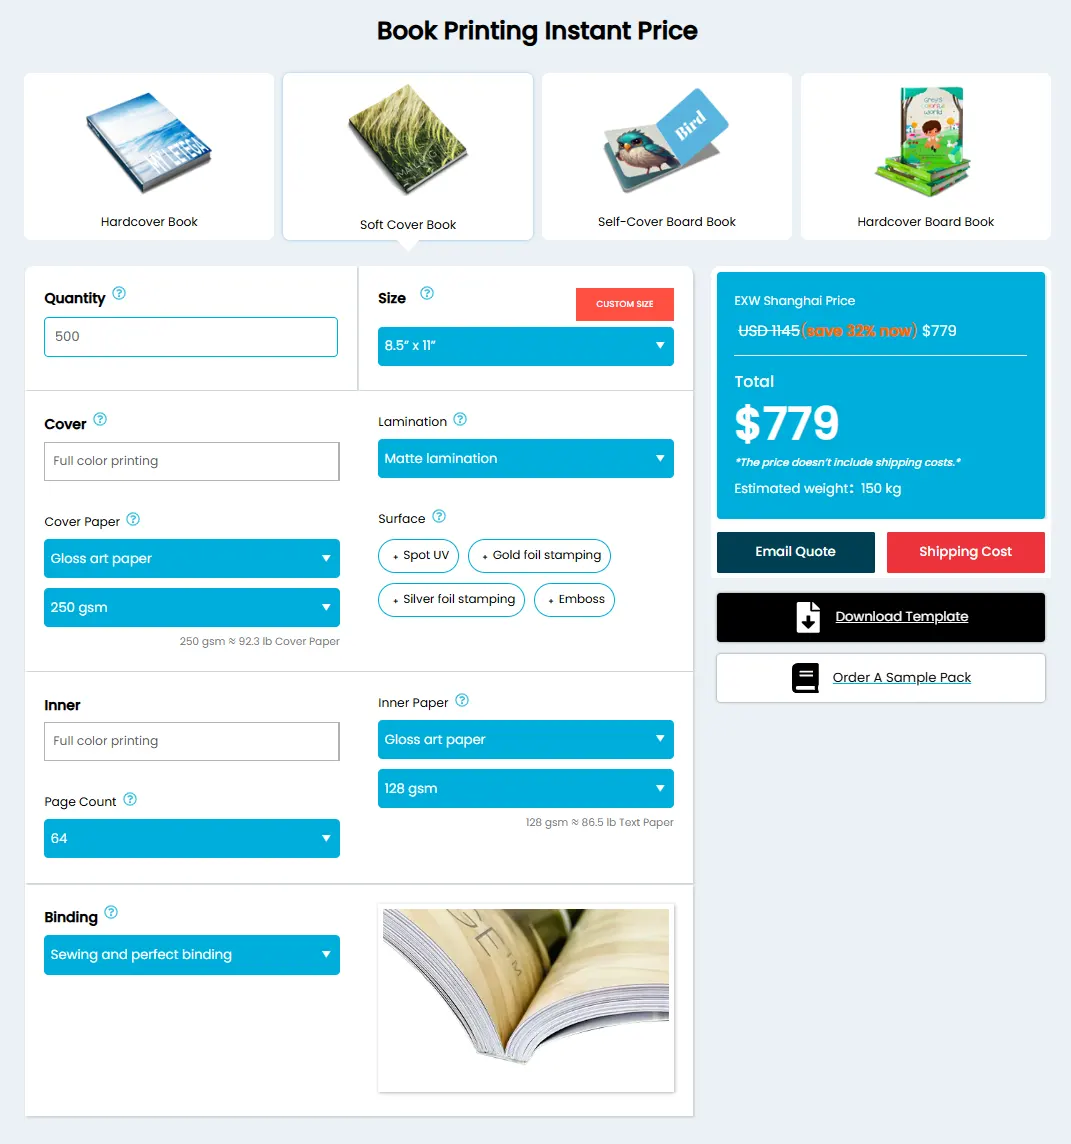
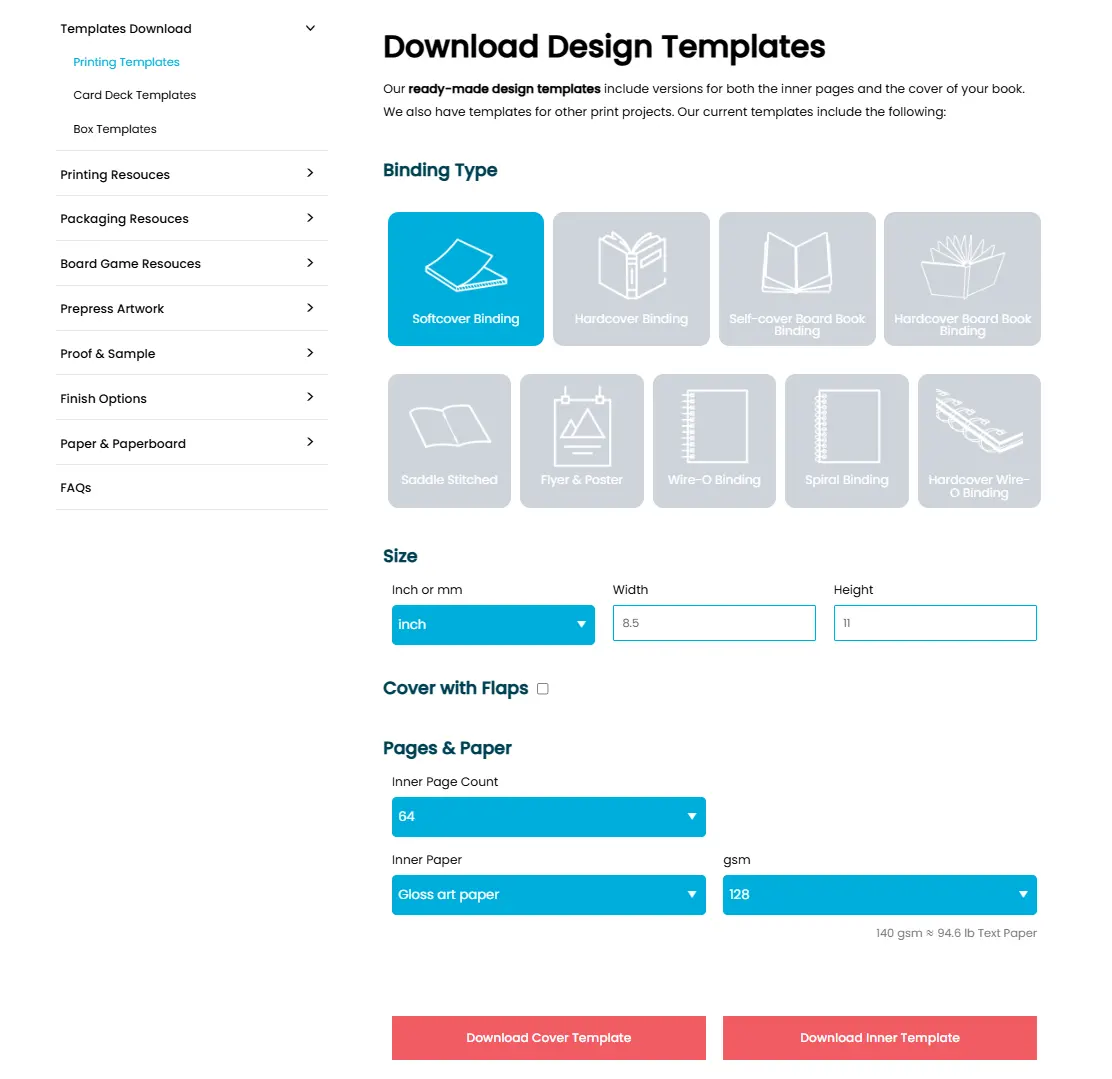
Start by visiting the QinPrinting website and selecting the interior book template that matches your project’s size and format. The templates come pre-configured for various standard book sizes, including options for bleed, trim, and safety lines. Before downloading, take advantage of the customization options to make sure the template fits your specific needs, such as page dimensions or binding style.
2. Creat New Document in Adobe InDesign
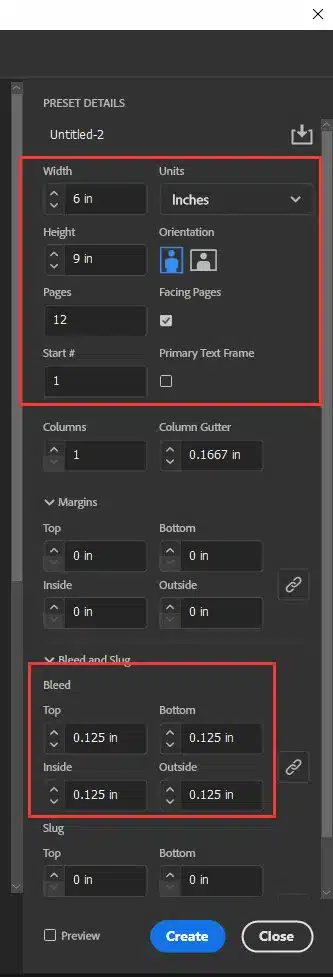
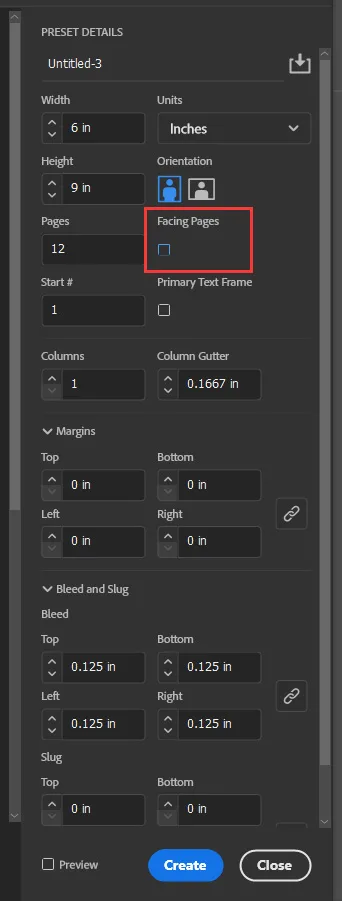
Once you’ve downloaded the template, open Adobe InDesign and create a new document. Input the correct page size and total number of pages for your project. Make sure to select “Facing Pages” if your book will have a traditional layout with left and right spreads. For the bleed setting, use 0.125 inches, as recommended for most professional printing projects.
3. Set up your Parent Pages
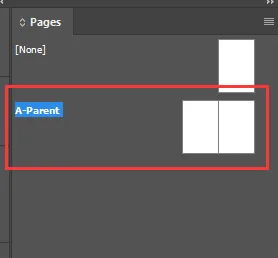
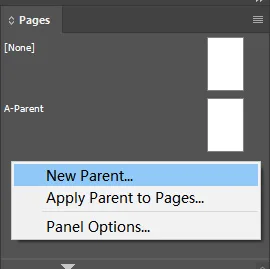
Parent pages (formerly called master pages) are a powerful tool in InDesign that allows you to apply consistent design elements across multiple pages. In the Pages panel, select “A-Parent.”
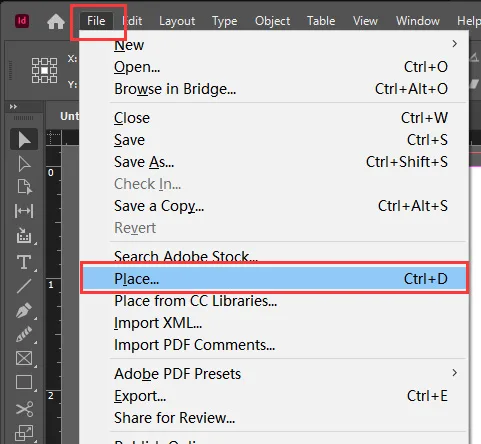
Then, go to “File” and choose “Place” to import the template PDF. Input “3” in the range to start with the main spread template.
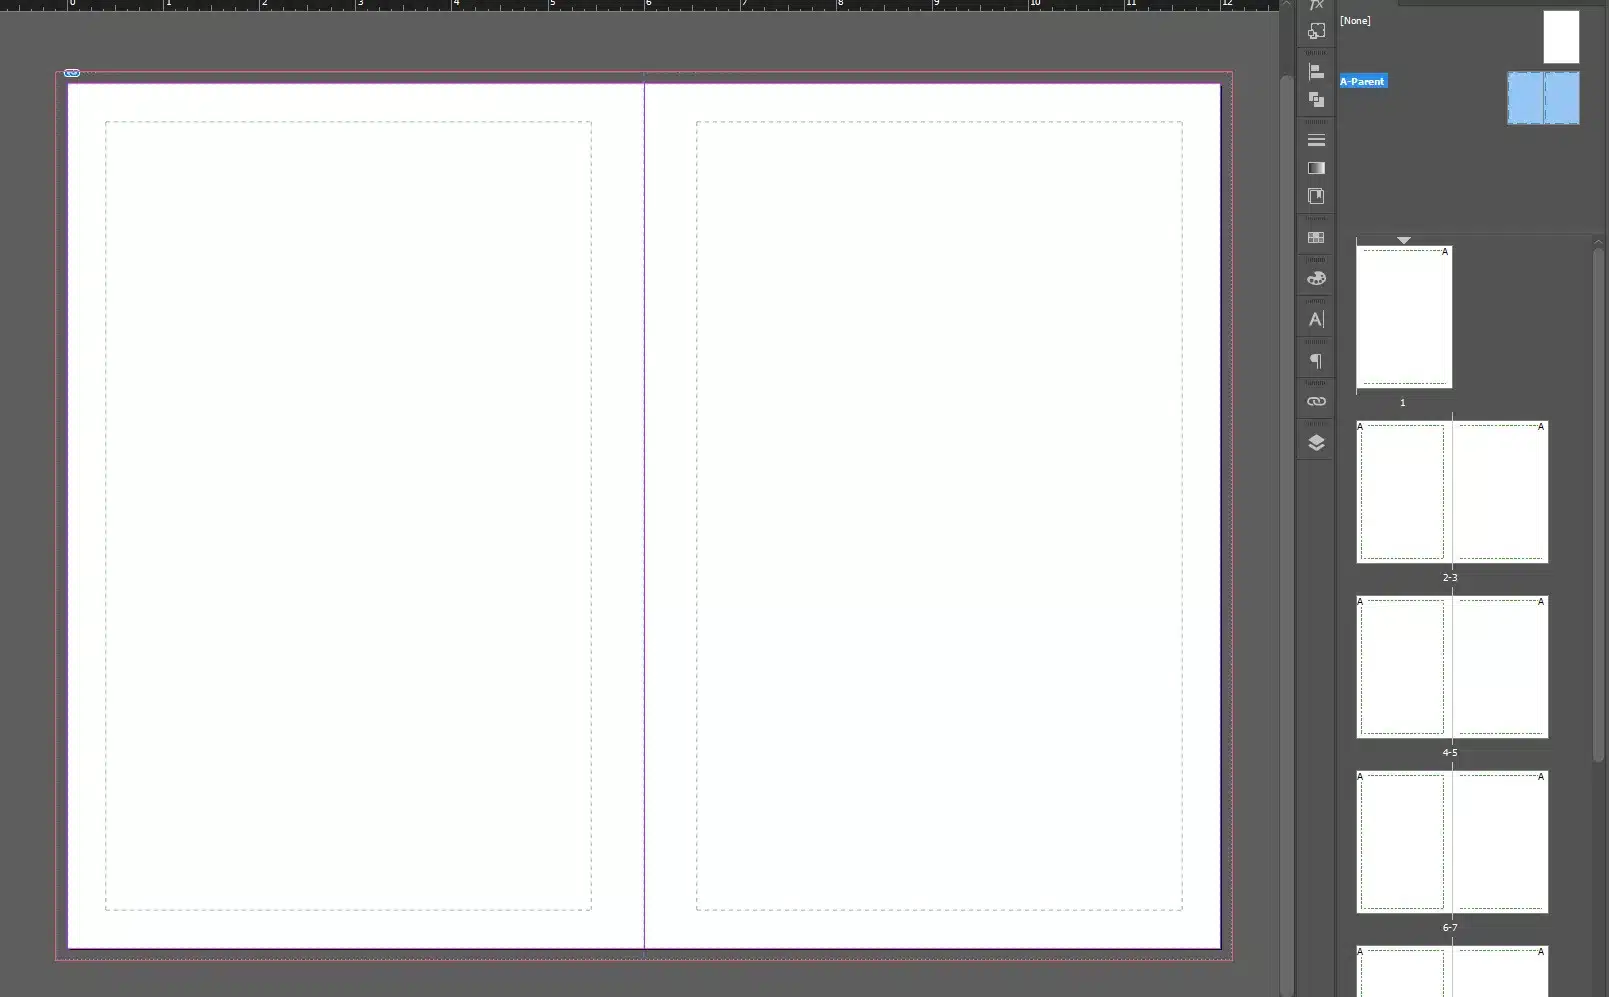
Center the PDF within the layout to align it properly.
4. Customize for non-facing page layouts
If your book uses a binding style like wire-O or spiral binding — where facing pages aren’t needed — you’ll need to adjust the document setup. In the New Document settings, uncheck “Facing Pages.”
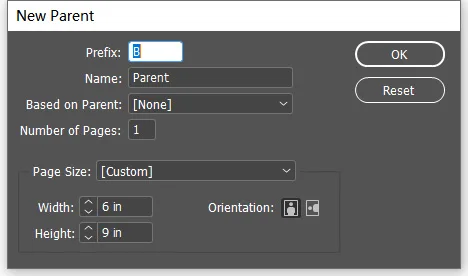
Then create a second parent page called “B-Parent.”
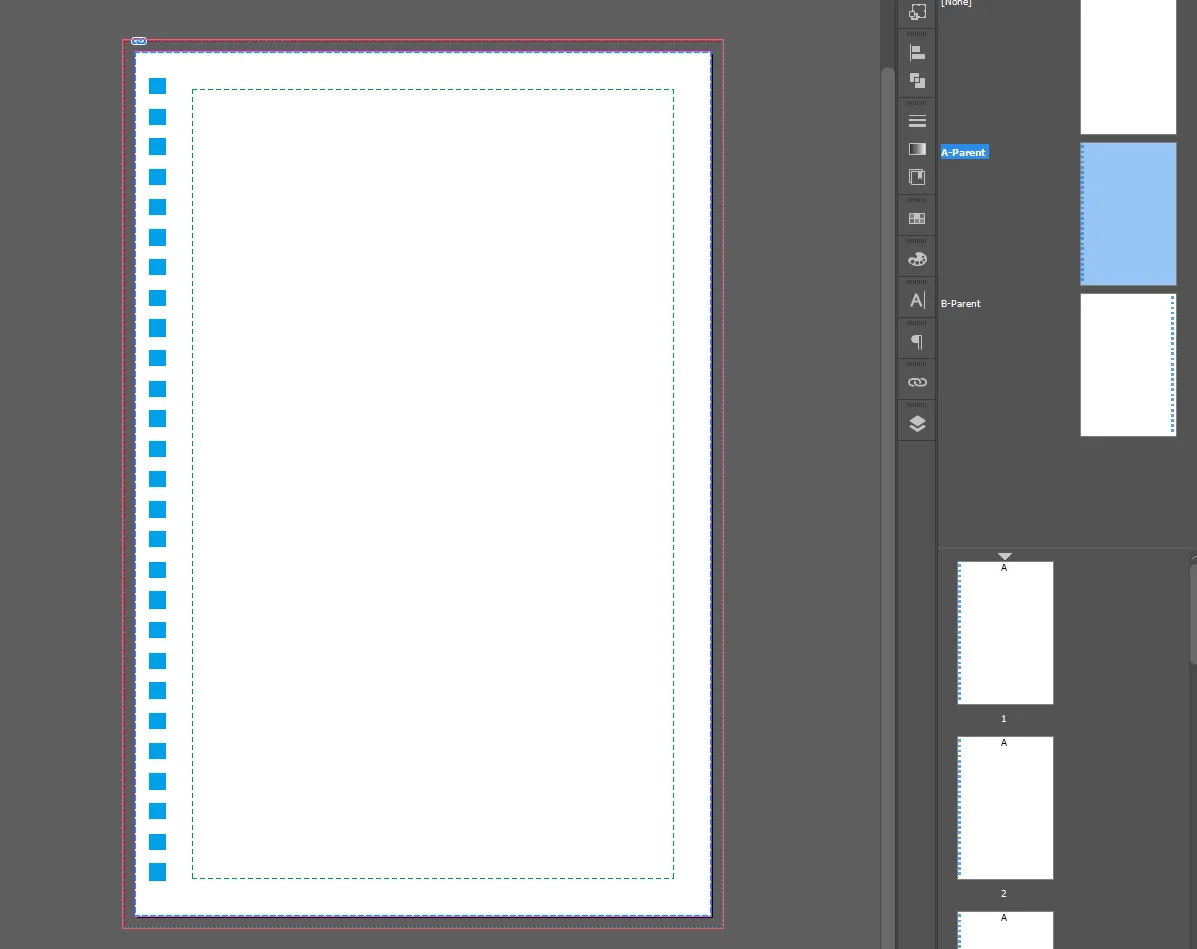
Place and center the second page of the PDF template in “A-Parent” and the third page in “B-Parent.”
To apply these settings:
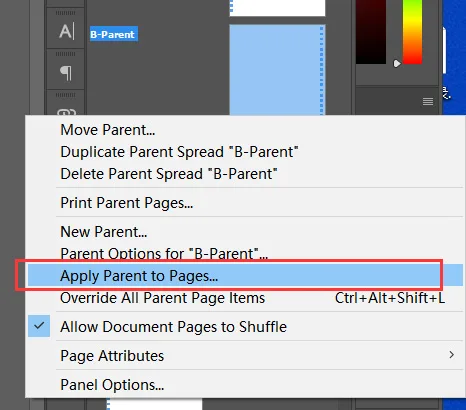
- Right-click “B-Parent” and choose “Apply Parent to Pages.”
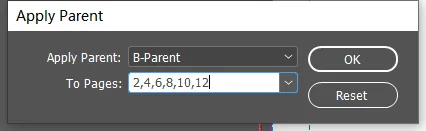
- Enter all even page numbers in the “to pages” field. This will make sure that your even pages follow the “B-Parent” layout while the odd pages adhere to “A-Parent.”

5. Start designing within the template
With your template ready, you can make a start on the creative work. Here are some essential tips to keep in mind:
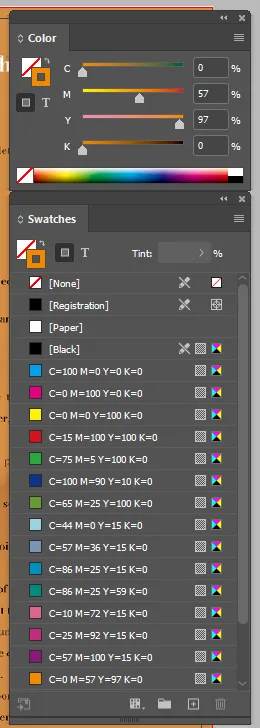
- Color Settings: Use “Japan Color 2001 Coated” to maintain color accuracy during printing.
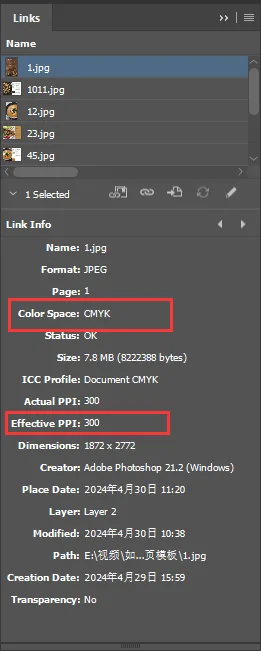
- Images: Check that all images are in CMYK color mode with a resolution of 300 PPI for sharp, print-ready results. You can check these settings in the Links panel.
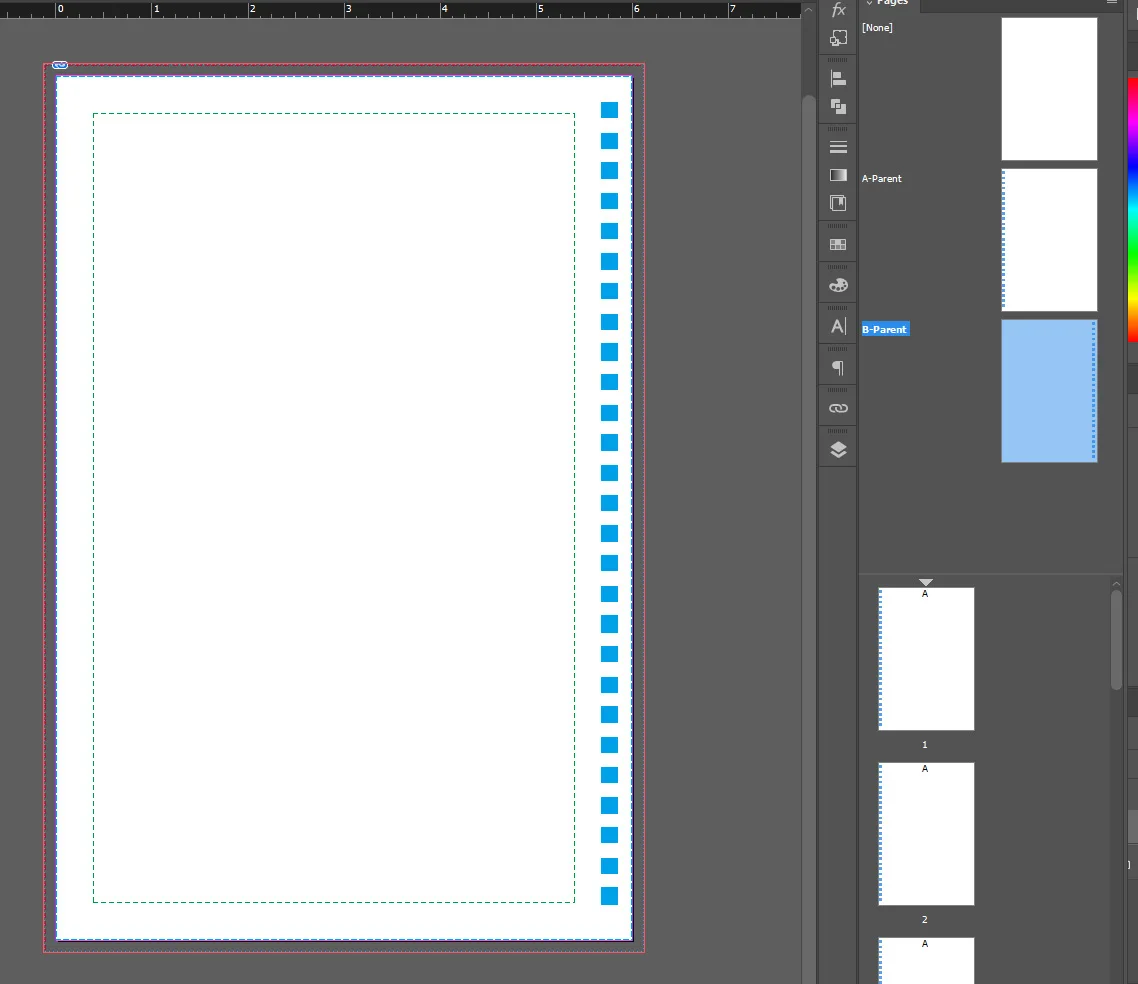
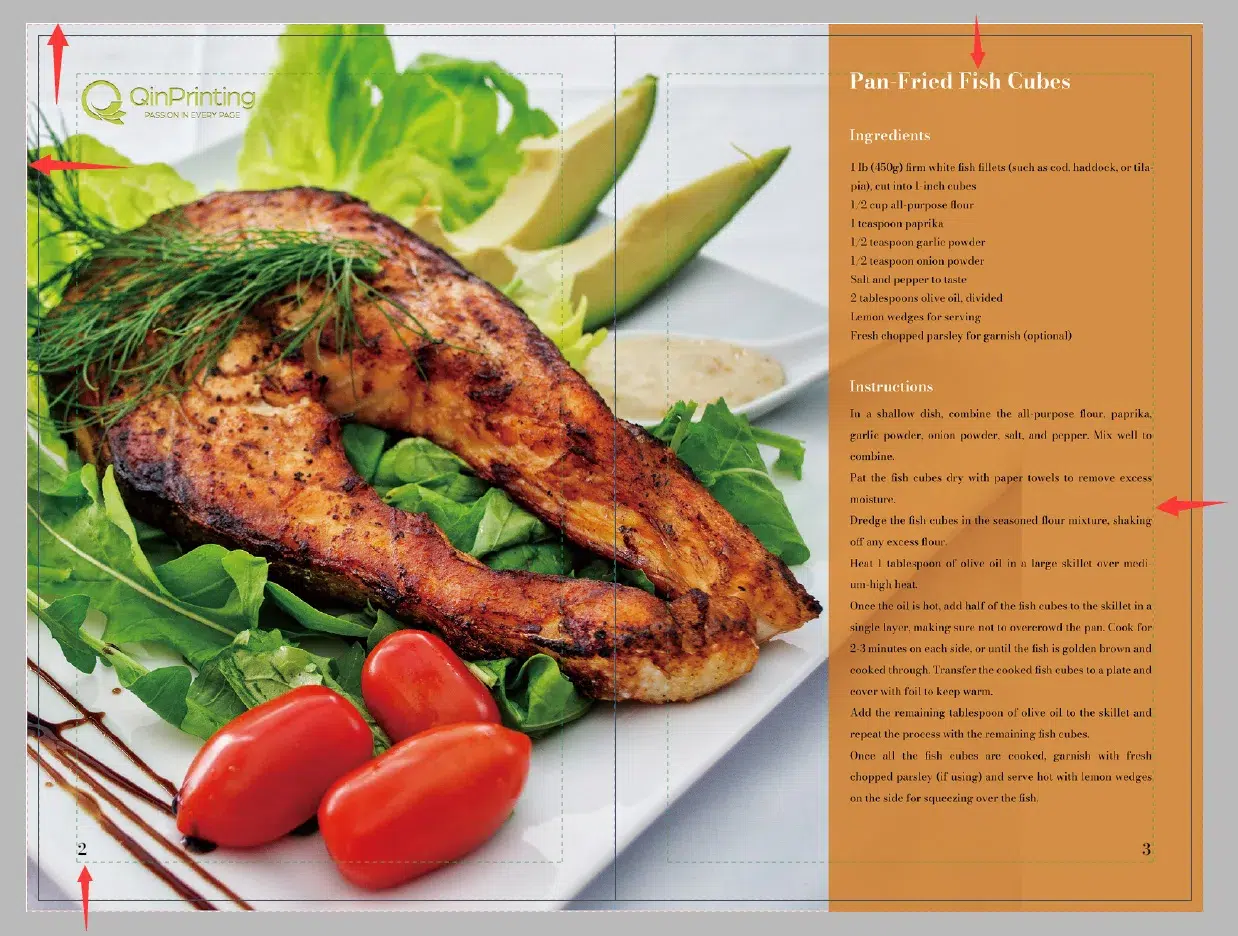
- Bleed and Safety Lines: Extend background elements to the red bleed line, but keep text and other important content within the green safety line.
6. Finalizing Your design
Once your layout is complete, hide the template layer to prepare for export. To save your design as a print-ready PDF:
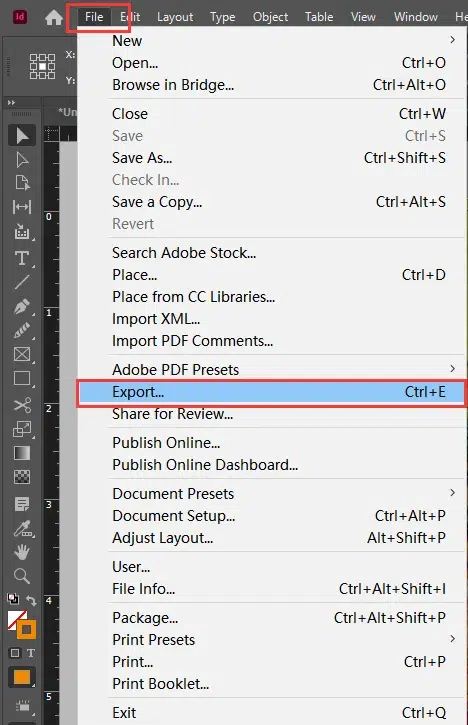
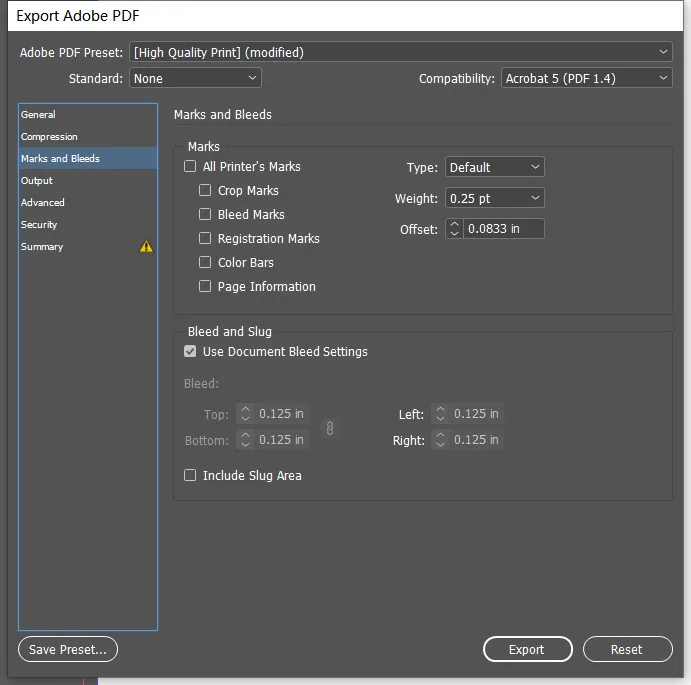
- Go to “File” > “Export” and choose Adobe PDF format.
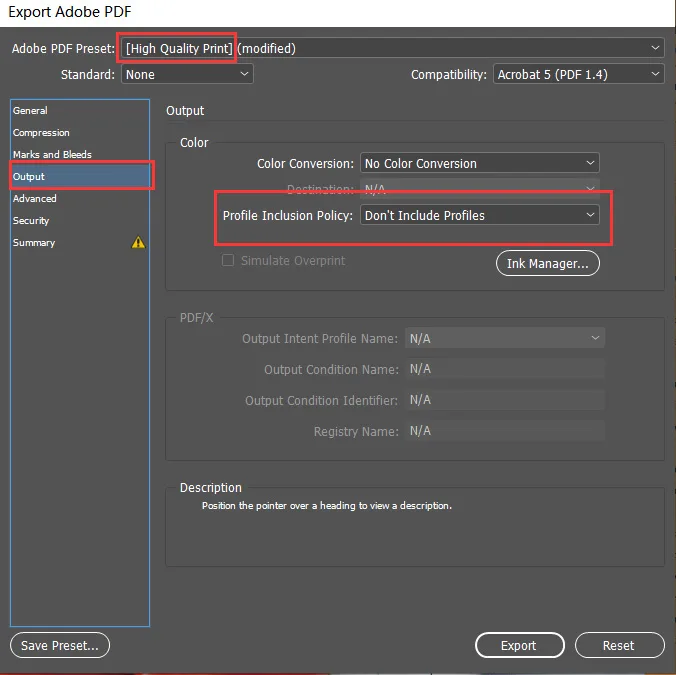
- Select “High Quality Print” in the settings.
- Under “Output,” choose “Don’t Include Profiles.”
- Under “Marks and Bleeds,” check “Use Document Bleed Settings.”
7. Verify your exported PDF
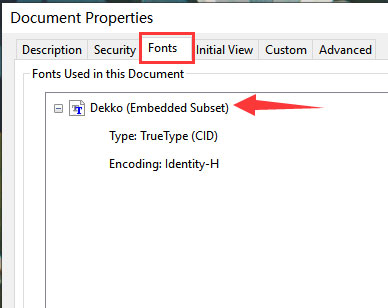
Before sending your file to us for checking and printing, double-check it for accuracy. Open the PDF in Adobe Acrobat, navigate to “File” > “Properties” > “Fonts,” and make sure all fonts are embedded or have the “Embedded Subset” symbol. This prevents any text rendering issues during printing.
Why choose QinPrinting templates?
Our templates are meticulously crafted to align with professional printing standards. They eliminate guesswork, allowing you to focus on the creative aspects of your project. Whether you’re a first-time author or a seasoned publisher, these templates save time, reduce errors, and help with a seamless transition from design to print.
Adobe InDesign’s sophisticated features can seem like a lot to get to grips with, but combining them with a QinPrinting template transforms the software into an approachable and effective tool. By following the steps we’ve outlined above, you’ll be well placed to create a design that is not only visually appealing but also technically sound for high-quality offset printing. We recommend that you watch the video at the top. Having both the visual explanation the video offers with the technical detail in the written post will deepen your understanding and save you time in the long run.

Book Printing by QinPrinting
Ready to design your book interior with confidence?
Download a QinPrinting template today and experience how easy it can be to achieve professional results. And remember, our design team is always here to help. Whether you have questions about InDesign, color settings, or any other part of the process, feel free to reach out. Shoot us an email to [email protected] or just call us on +1 951 866 3971 and we’ll be delighted to do all we can to help you.